
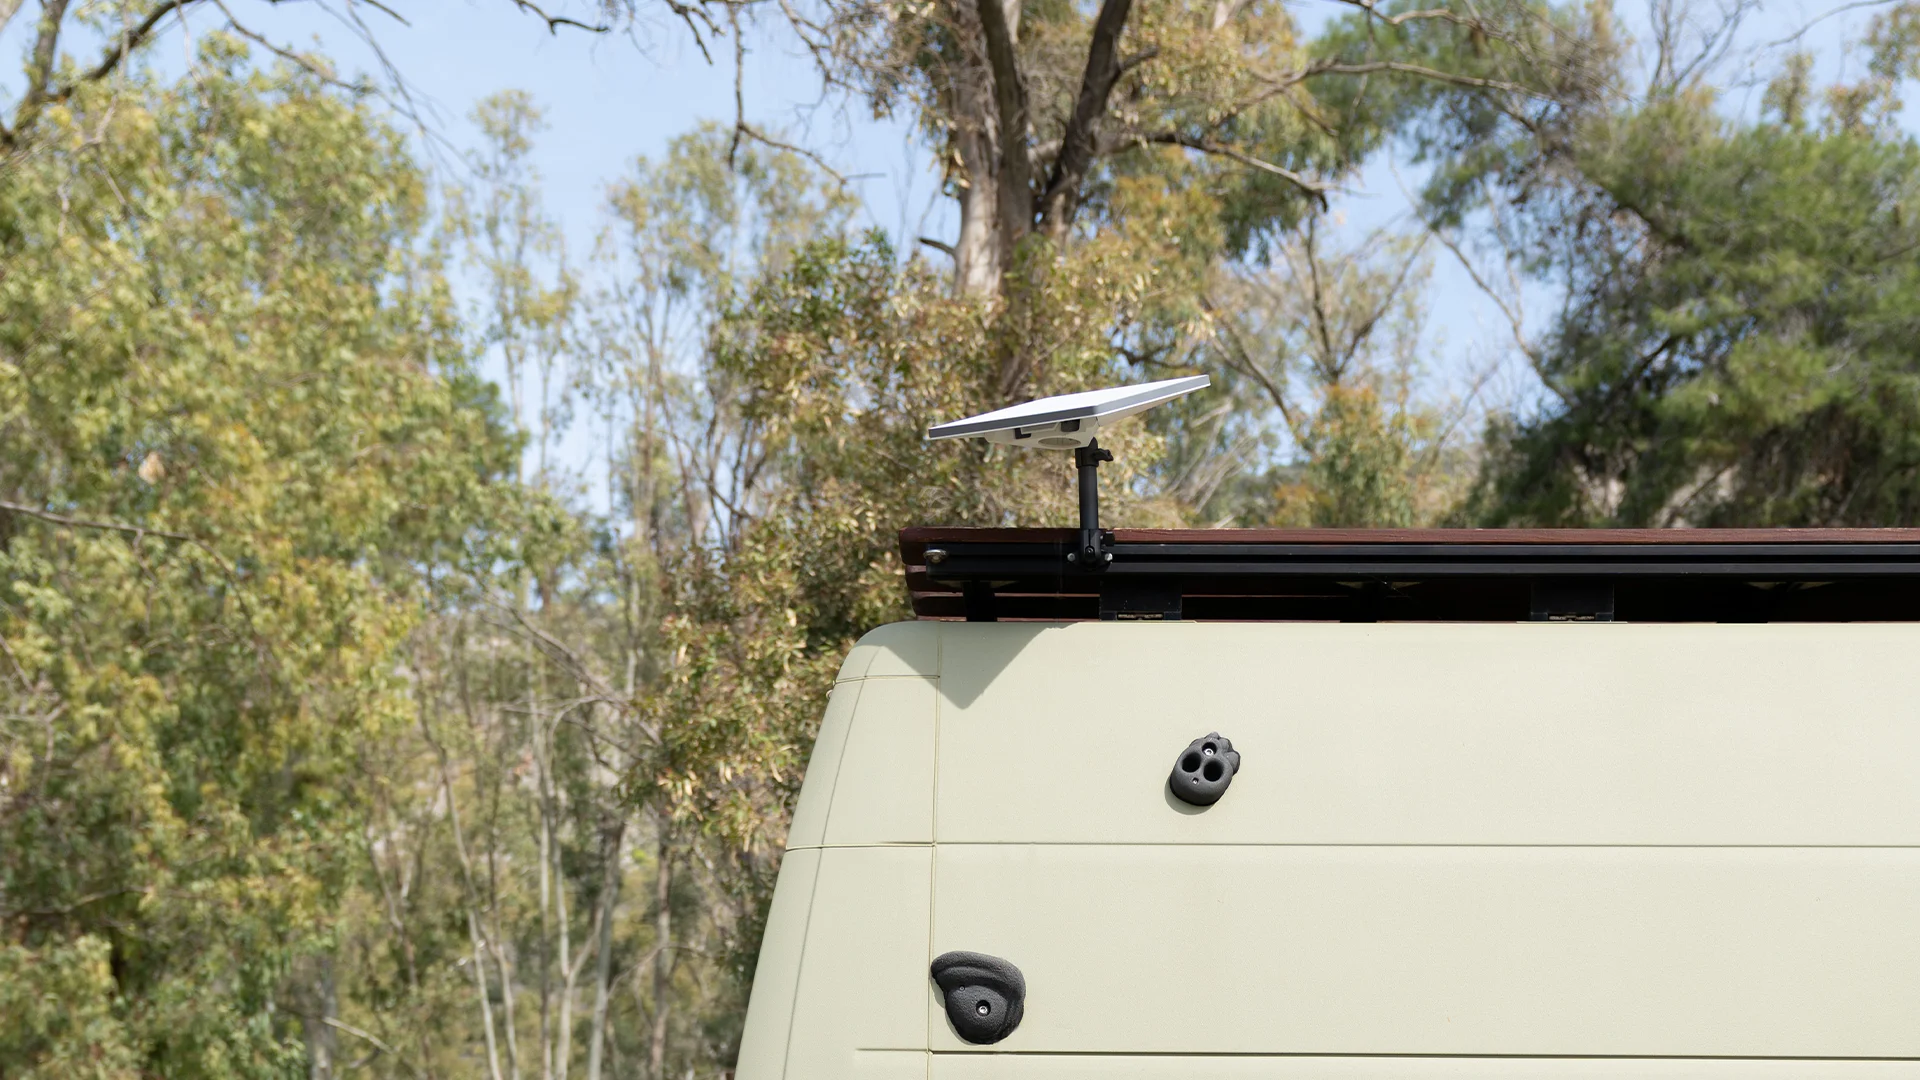
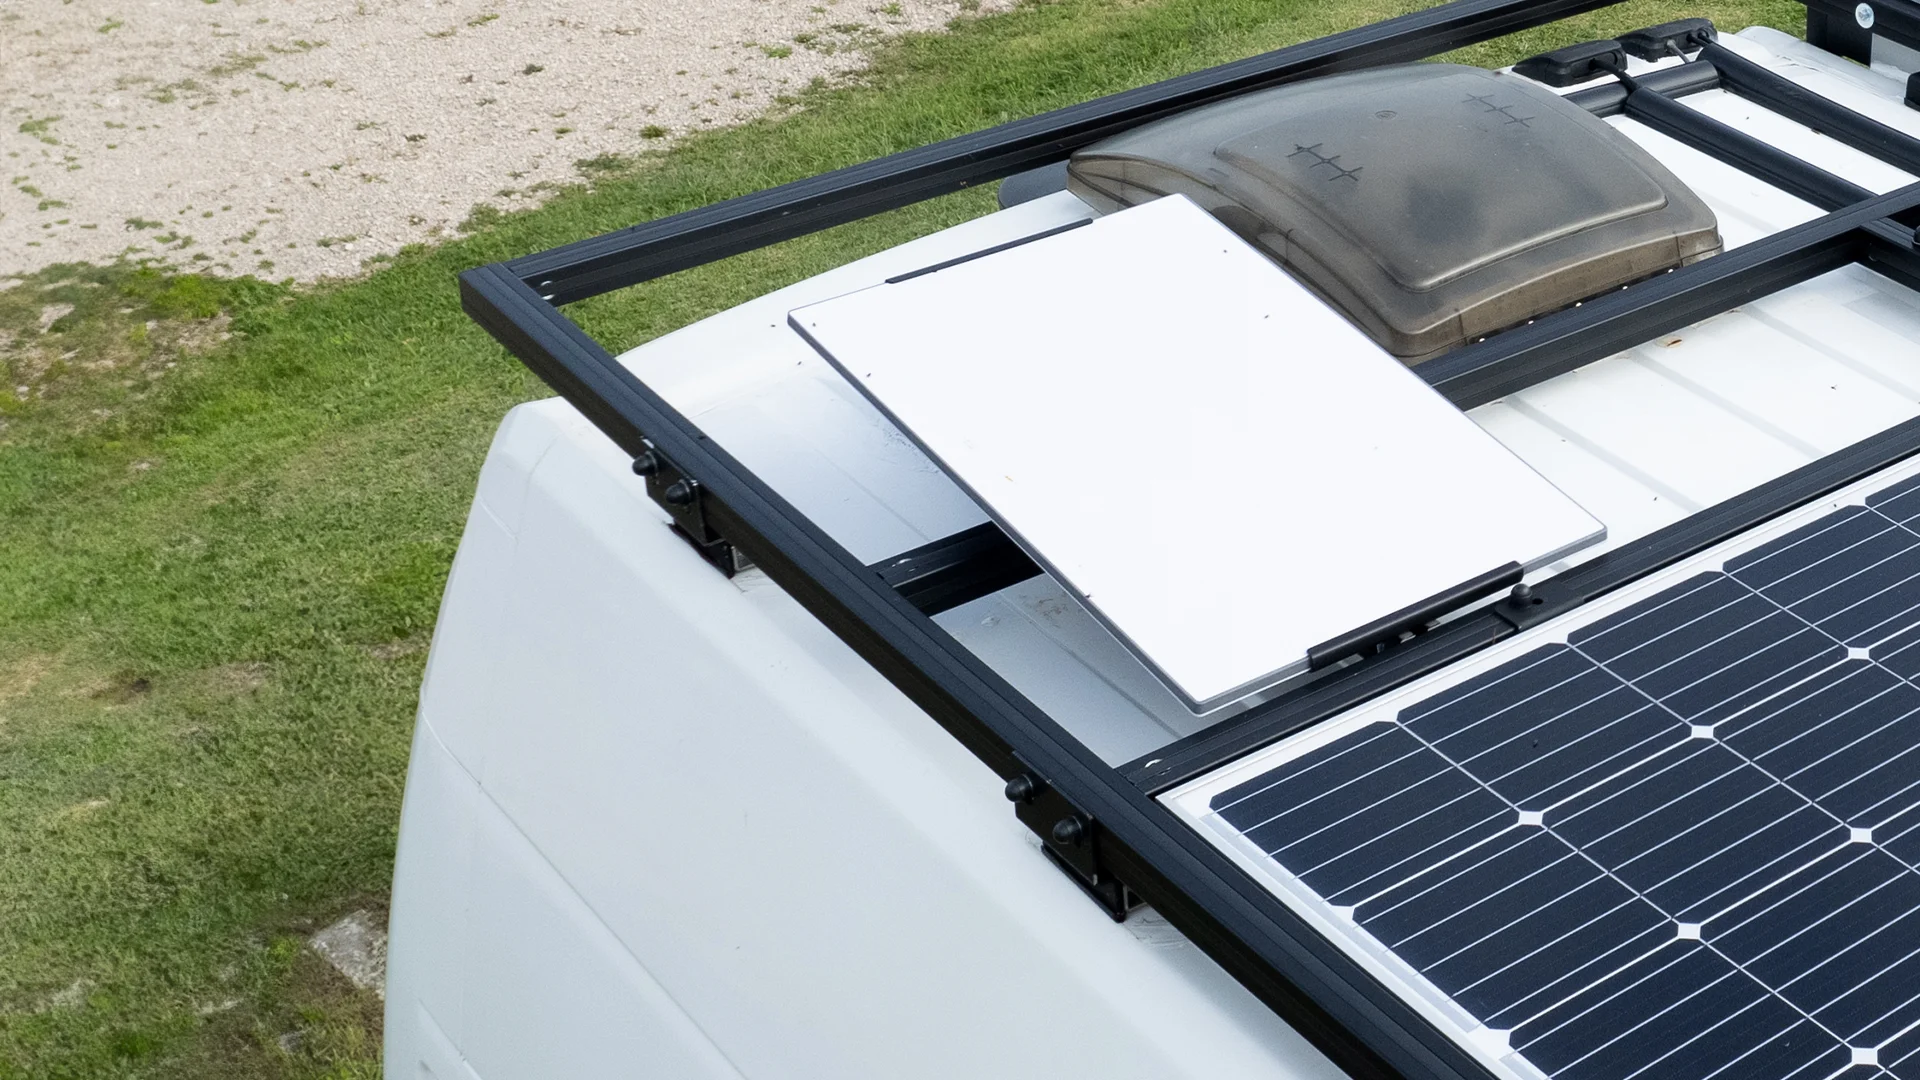
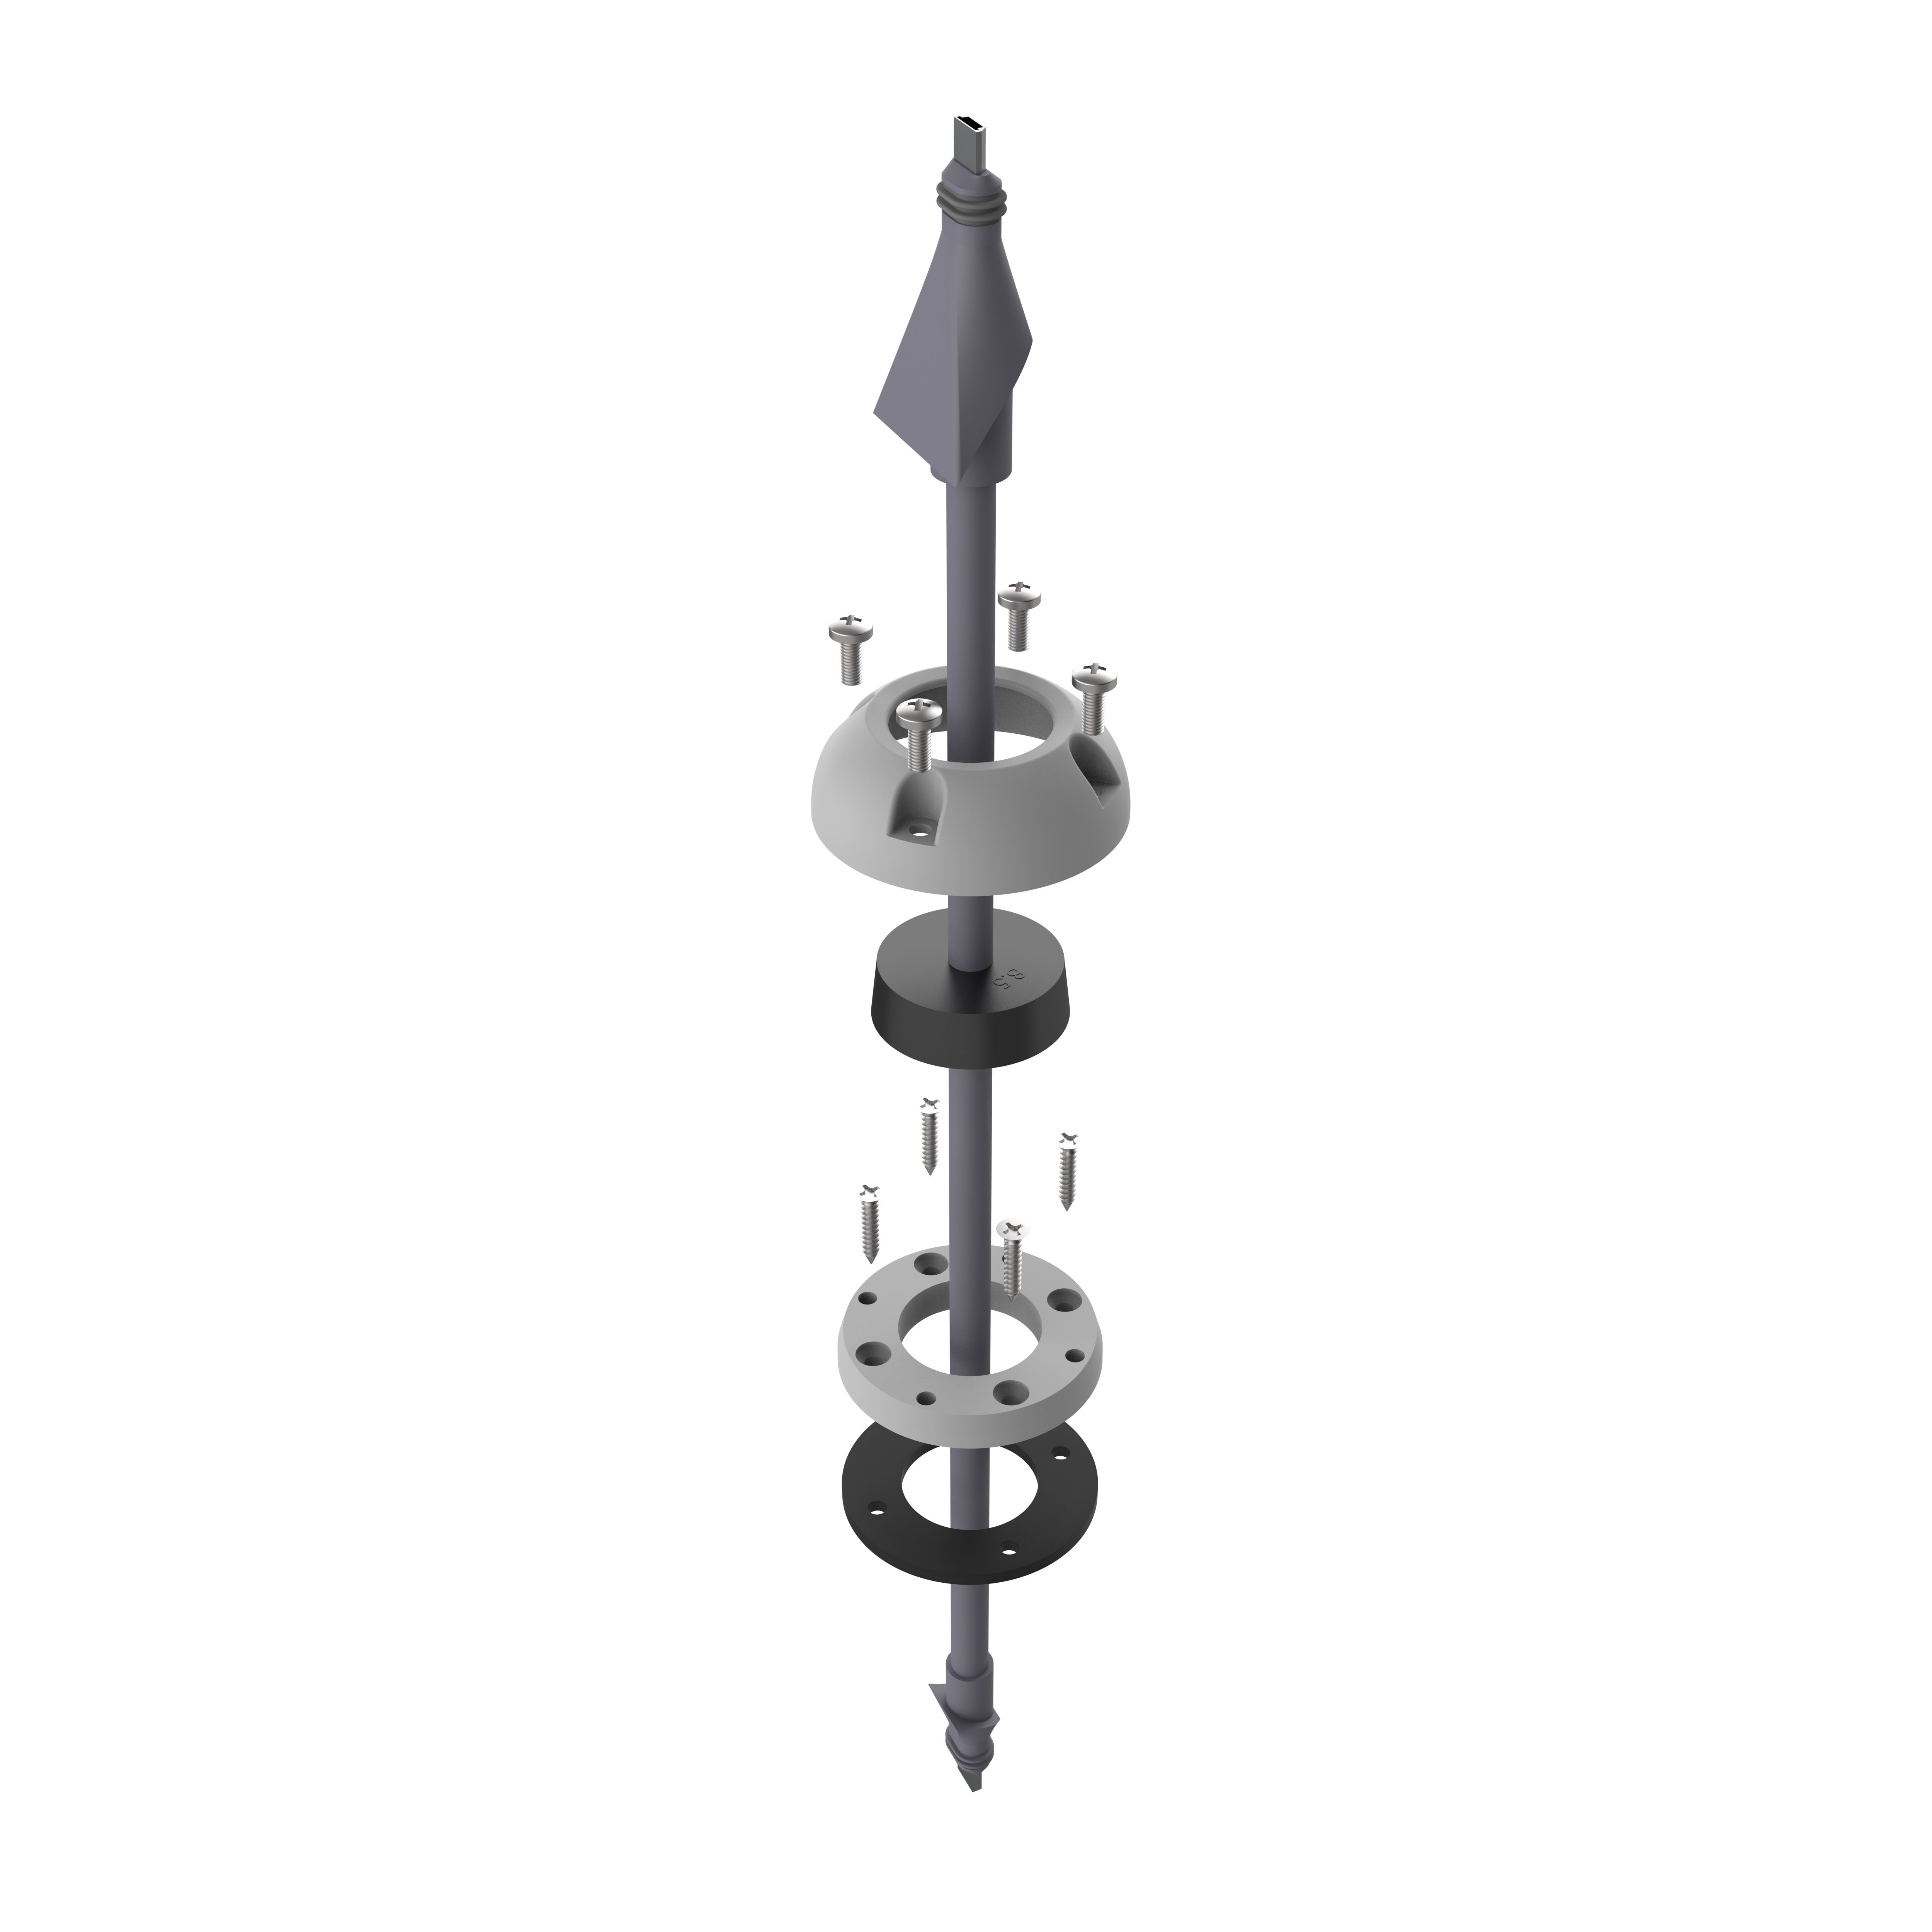
How to Install A Scanstrut Starlink Compatible Cable Seal on Your Van.

 2 mins
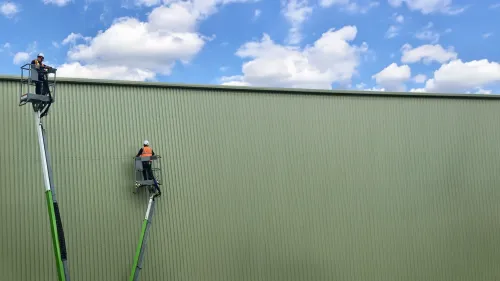
 Niftylift - Retrofitting to Modernize
How we worked with Niftylift, to retrofit charging onboard.
Read more
 3 mins
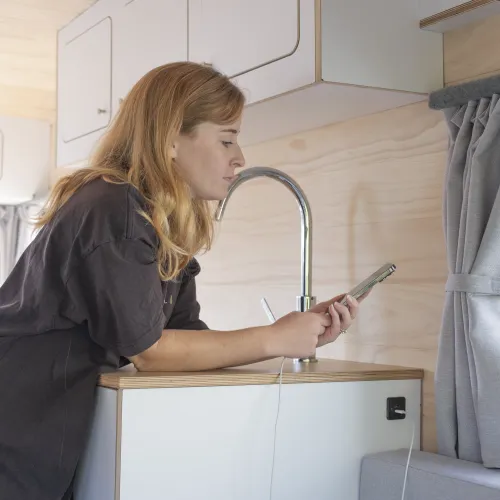
 The ultimate Vanlife Game-Changer
Discover Jess & Marcus' three-year vanlife journey, their van upgrades, and how the ATMOS Air...
Read more
 7 mins
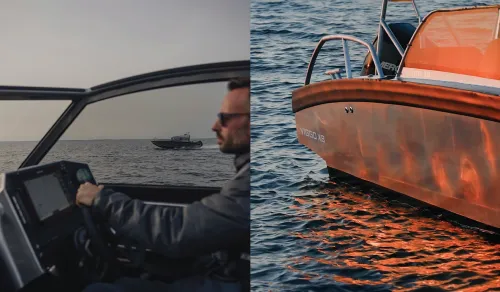
 In conversation with Viggo Boats
In this interview we speak with Douglas Matton, Production & Brand Manager at
 3 mins
 In conversation with Teulu Tribe
We catch-up with TeuluTribe, aka, Becka and Zach, to hear their intro to sailing and... Read more
 3 mins
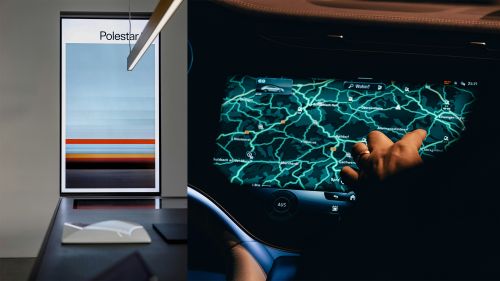
 Key Trends Shaping 2025
2025 has brought together several key trends across industries,... Read more
 3 mins
 The Top Van Design Considerations...
An exclusive interview with Transporter HQ!
Read more
 2 mins
 Scanstrut Named BLA Supplier of the...
Scanstrut Named BLA Supplier of the Year for 2025
Read more 2 mins
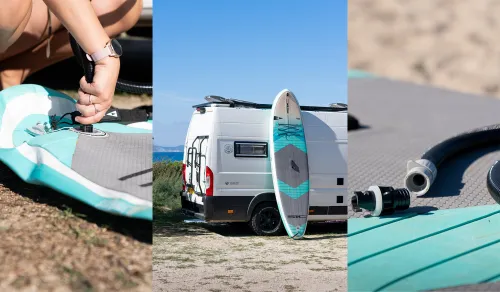
 Is An External Shower Worth It?
Is an external campervan shower connection worth it? In short, yes! Installing an external shower...
Read more
 3 mins
 How to install external sockets on...
When it comes to deciding on the best configuration of external sockets for your RV, there are... Read more
Design
Innovation
Partner
Sustainable
Quality