
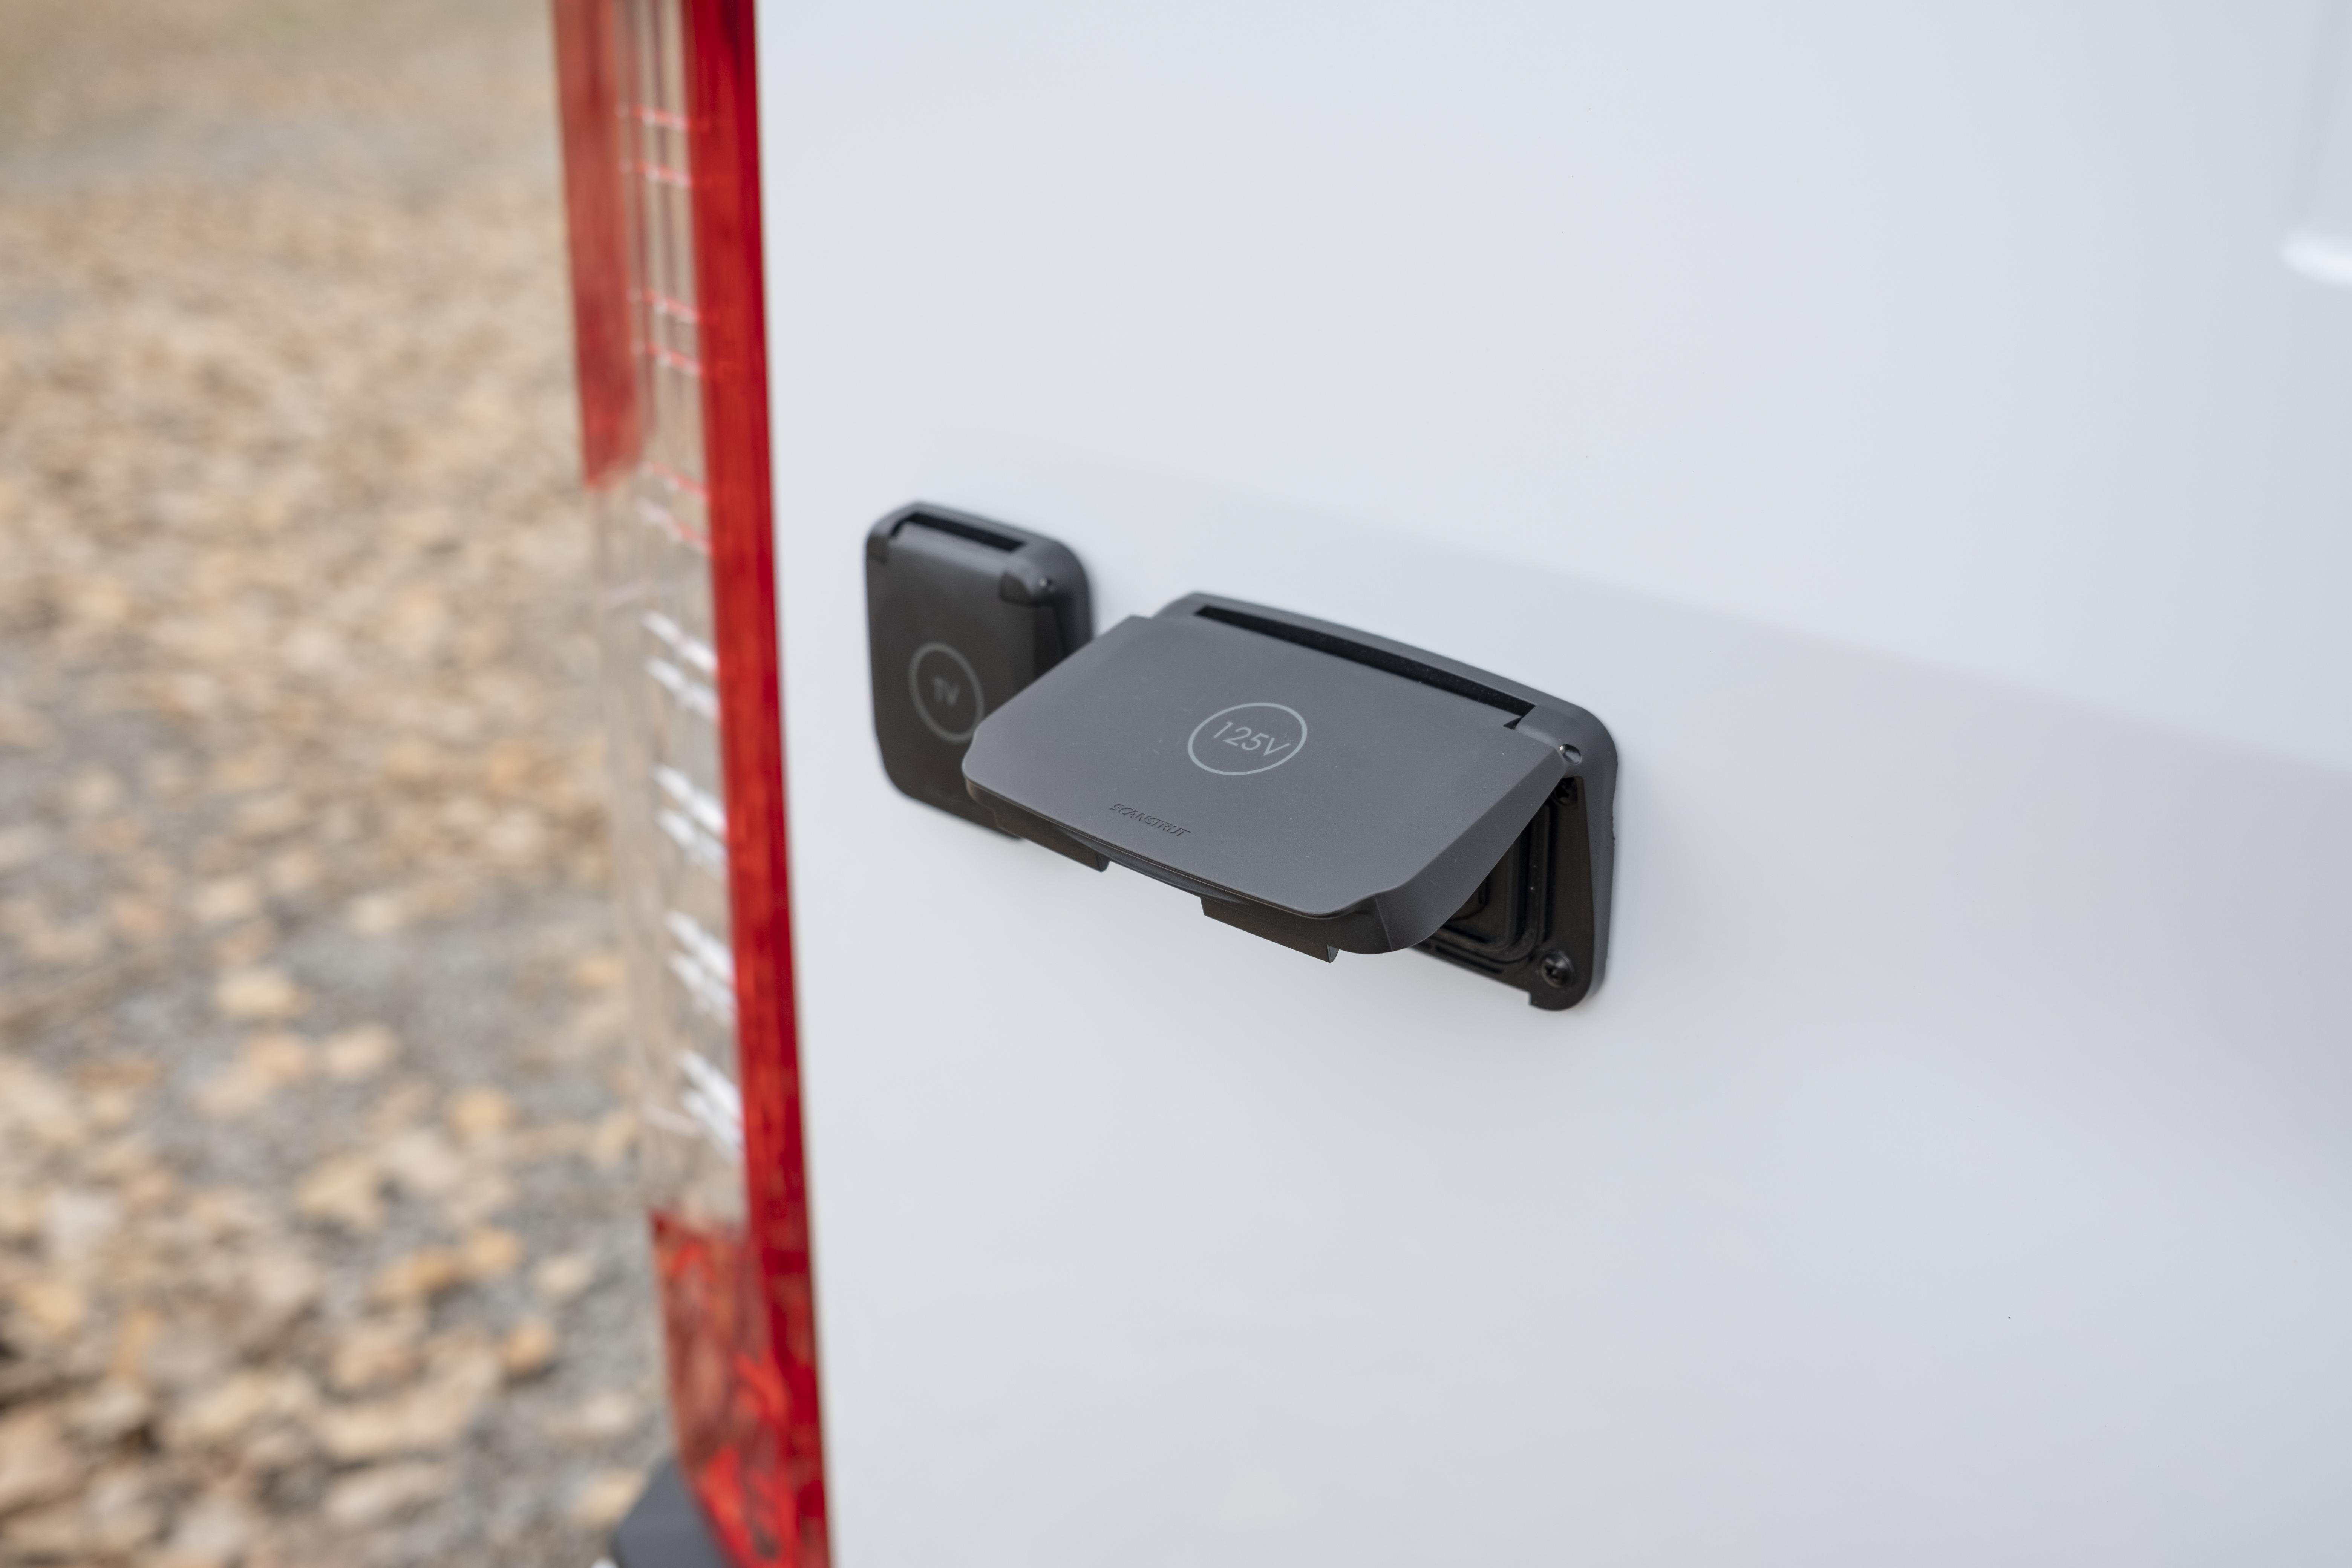
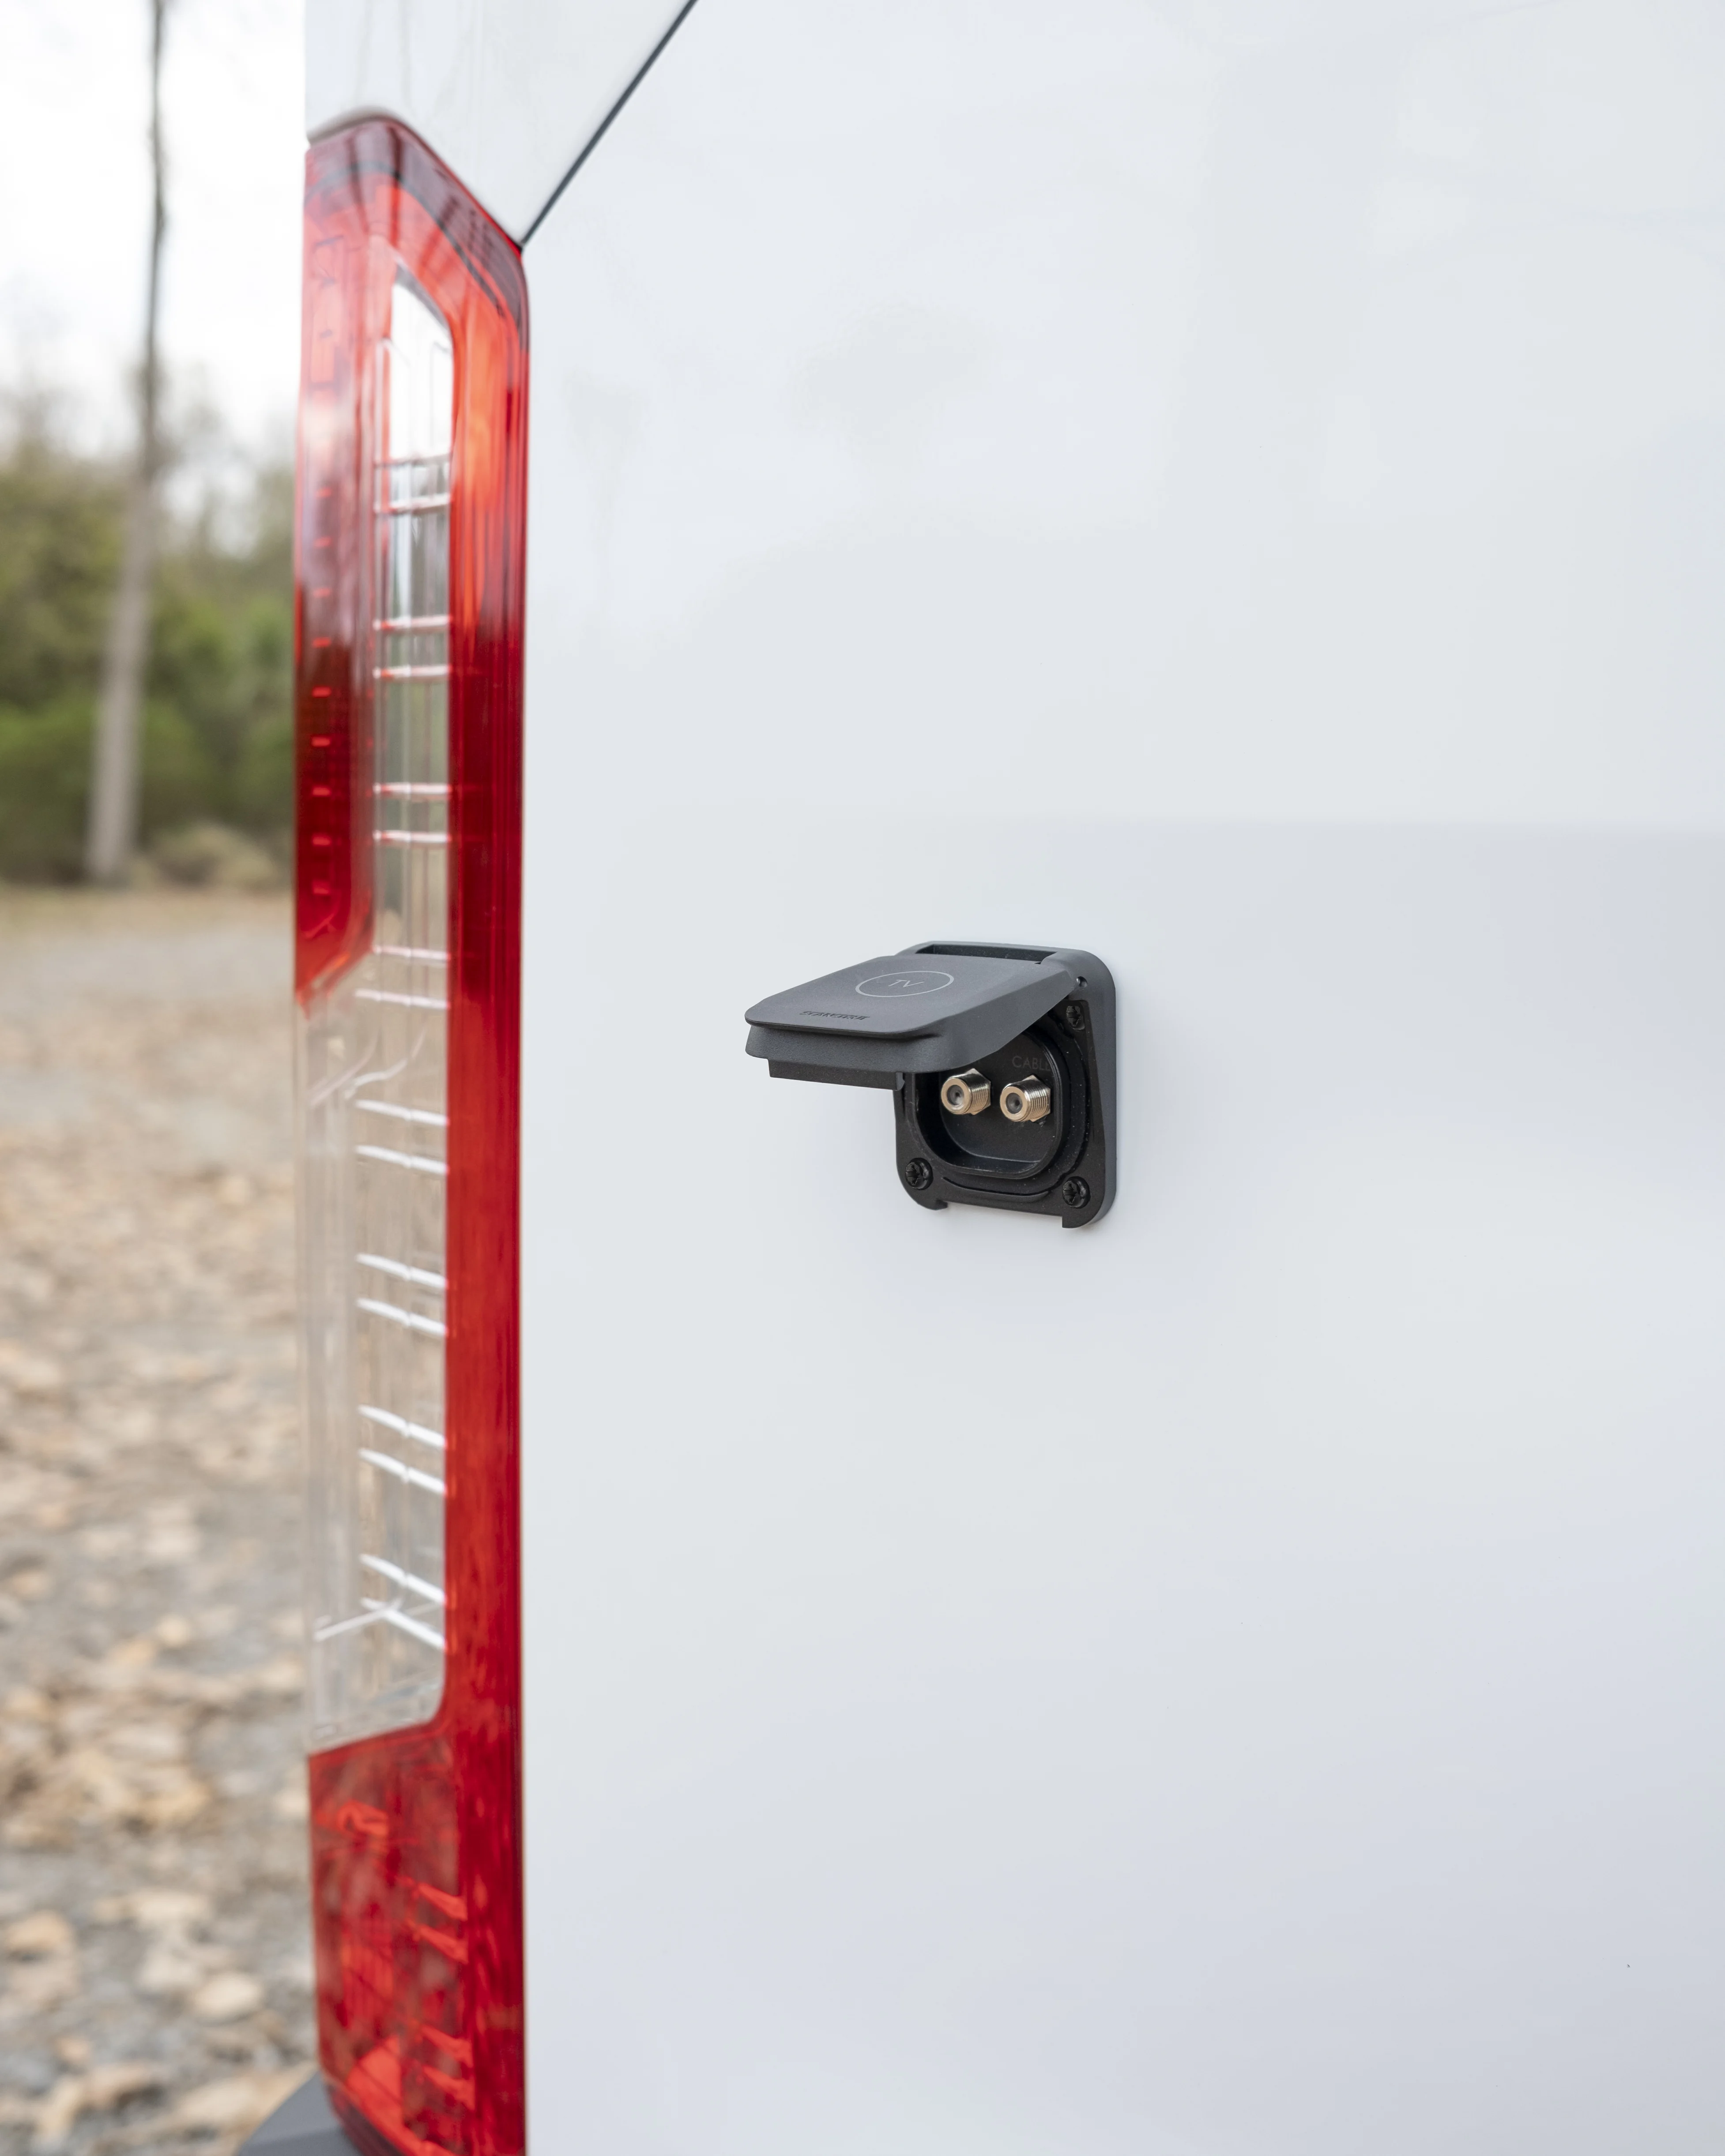
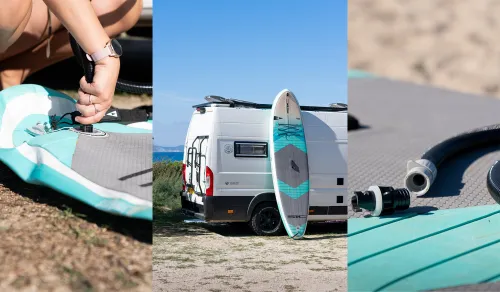
How To Install External Sockets On Your Van

 2 mins
 Niftylift - Retrofitting to Modernize
How we worked with Niftylift, to retrofit charging onboard.
Read more
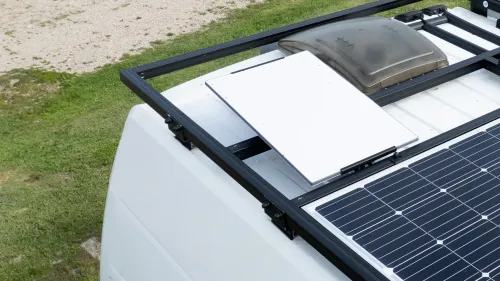
 3 mins
 The ultimate Vanlife Game-Changer
Discover Jess & Marcus' three-year vanlife journey, their van upgrades, and how the ATMOS Air...
Read more
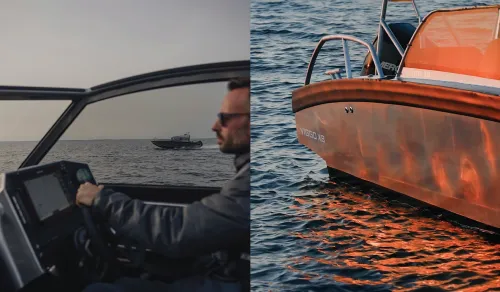 7 mins
 In conversation with Viggo Boats
In this interview we speak with Douglas Matton, Production & Brand Manager at
 3 mins
 In conversation with Teulu Tribe
We catch-up with TeuluTribe, aka, Becka and Zach, to hear their intro to sailing and... Read more
 3 mins
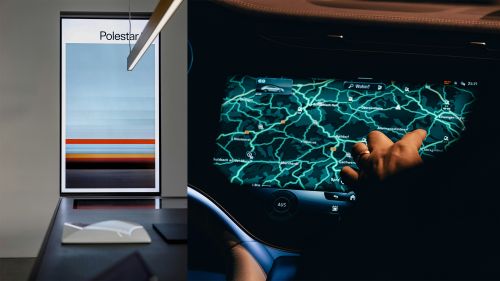
 Key Trends Shaping 2025
2025 has brought together several key trends across industries,... Read more
 3 mins
 The Top Van Design Considerations...
An exclusive interview with Transporter HQ!
Read more
 3 mins
 How to Install A Scanstrut Starlink...
For the best-fitting, purposely designed, and engineered option, here is our tried and tested... Read more
 2 mins
 Scanstrut Named BLA Supplier of the...
Scanstrut Named BLA Supplier of the Year for 2025
Read more 2 mins
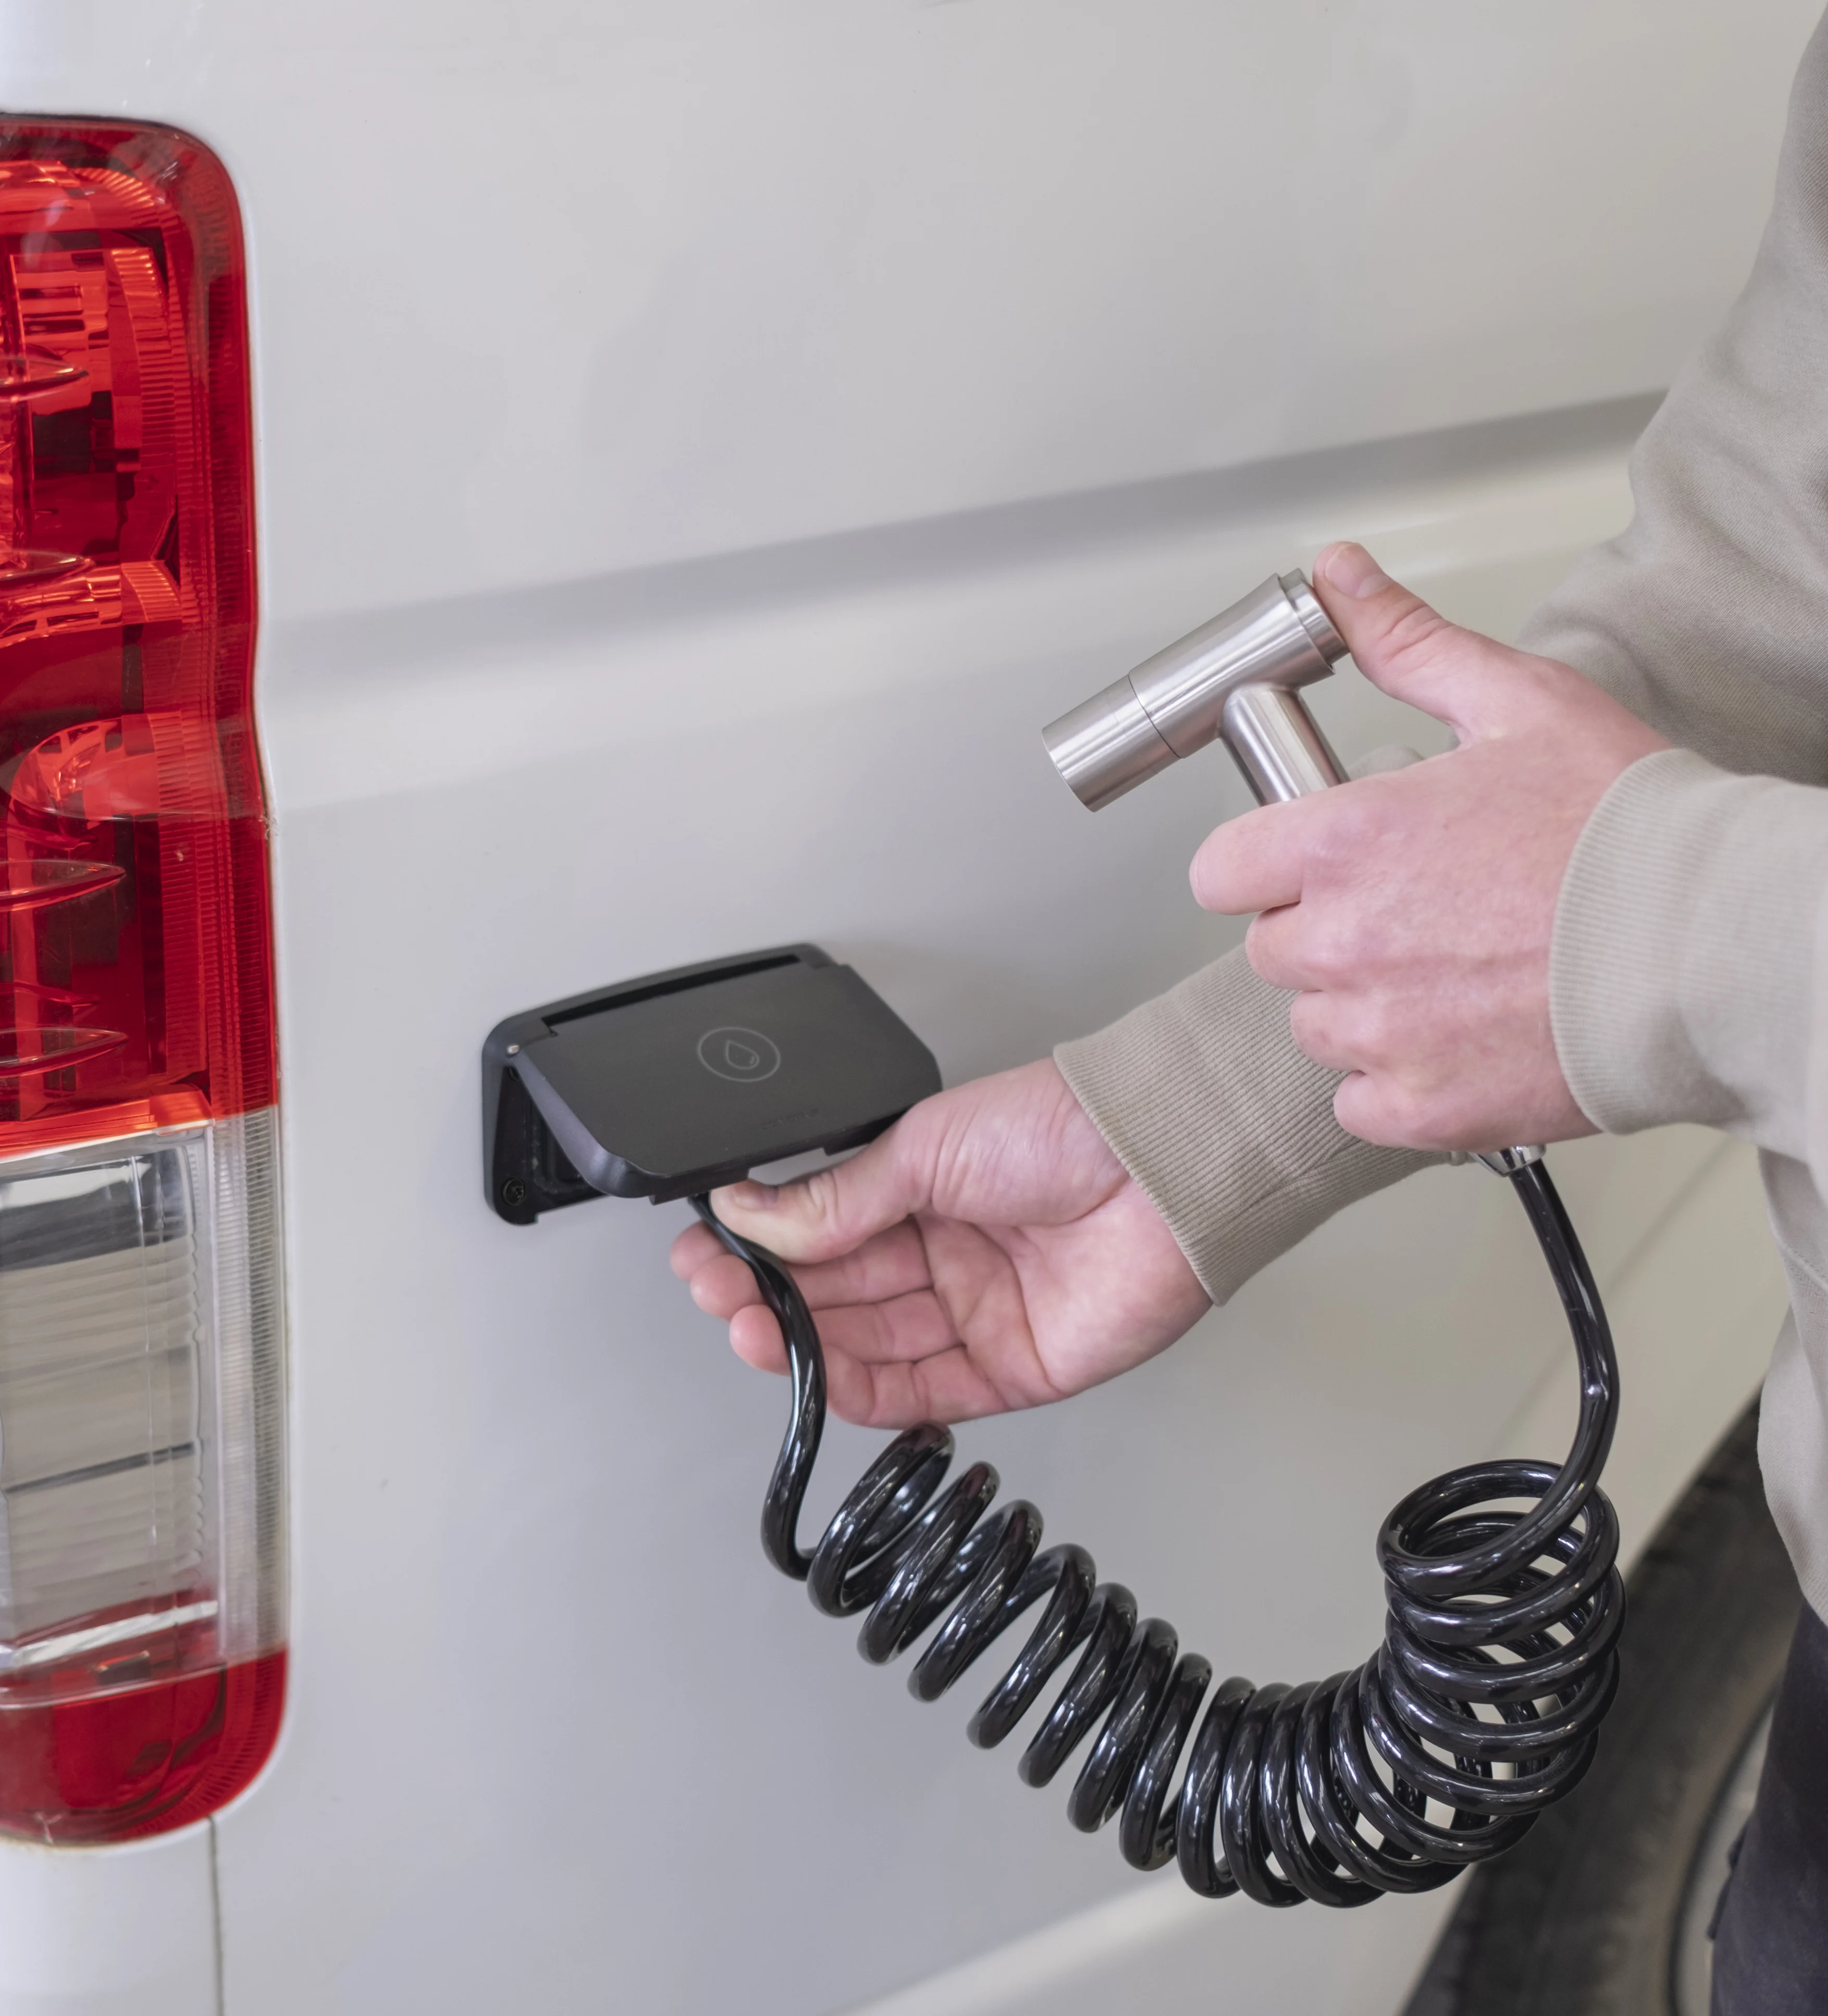
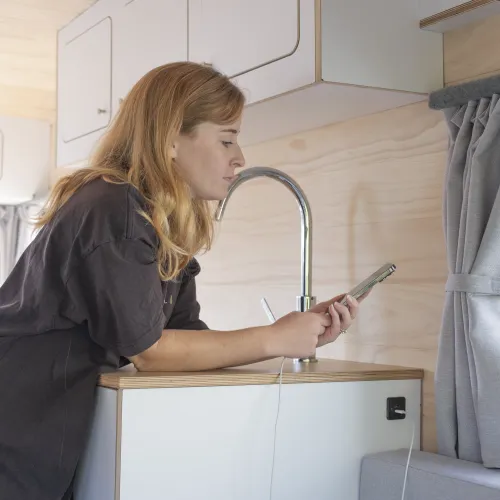
 Is An External Shower Worth It?
Is an external campervan shower connection worth it? In short, yes! Installing an external shower...
Read more
Design
Innovation
Partner
Sustainable
Quality