
Scanstrut SC100 Radar Pole Mount
Where to mount your radar antenna, 5 places to mount your radome
You’ve decided to fit radar on your yacht, but just where on your sailboat is it best to fit the radome? There are two general areas where the radome (the casing that contains the spinning radar antenna) can be fitted: on the mast (or ‘a’ mast if you have a ketch, schooner or yawl) or above the cockpit. Which area you choose will be informed by many considerations, but Scanstrut has eight different solutions depending which whether you want to mount your radar on the mast, on a pole, on the backstay or on an arch over the cockpit.
Let’s start by explaining a few things that might influence your decision. First off, the height at which radar is fitted will affect its performance in how far it can ‘see’. Radar works on radio waves that ‘see’ slightly further than the line of sight. There are all sorts of reasons for this, but for the scope of this article, it’s easier to understand that the higher a radar is fitted, the further it will receive targets. So, the radome should be fitted as high as possible then? No. The higher up it is, the more movement it will suffer from. Also, when fitting anything to your yacht you have to consider the item’s weight and its location on board; a radome is no different. Although you can still find small magnetron radar units, many companies have switched solely to solid-state CHIRP or broadband radar. While power saving, increased resolution and closer target acquisition are some of the benefits, for this example we’re just interested in weight saving.
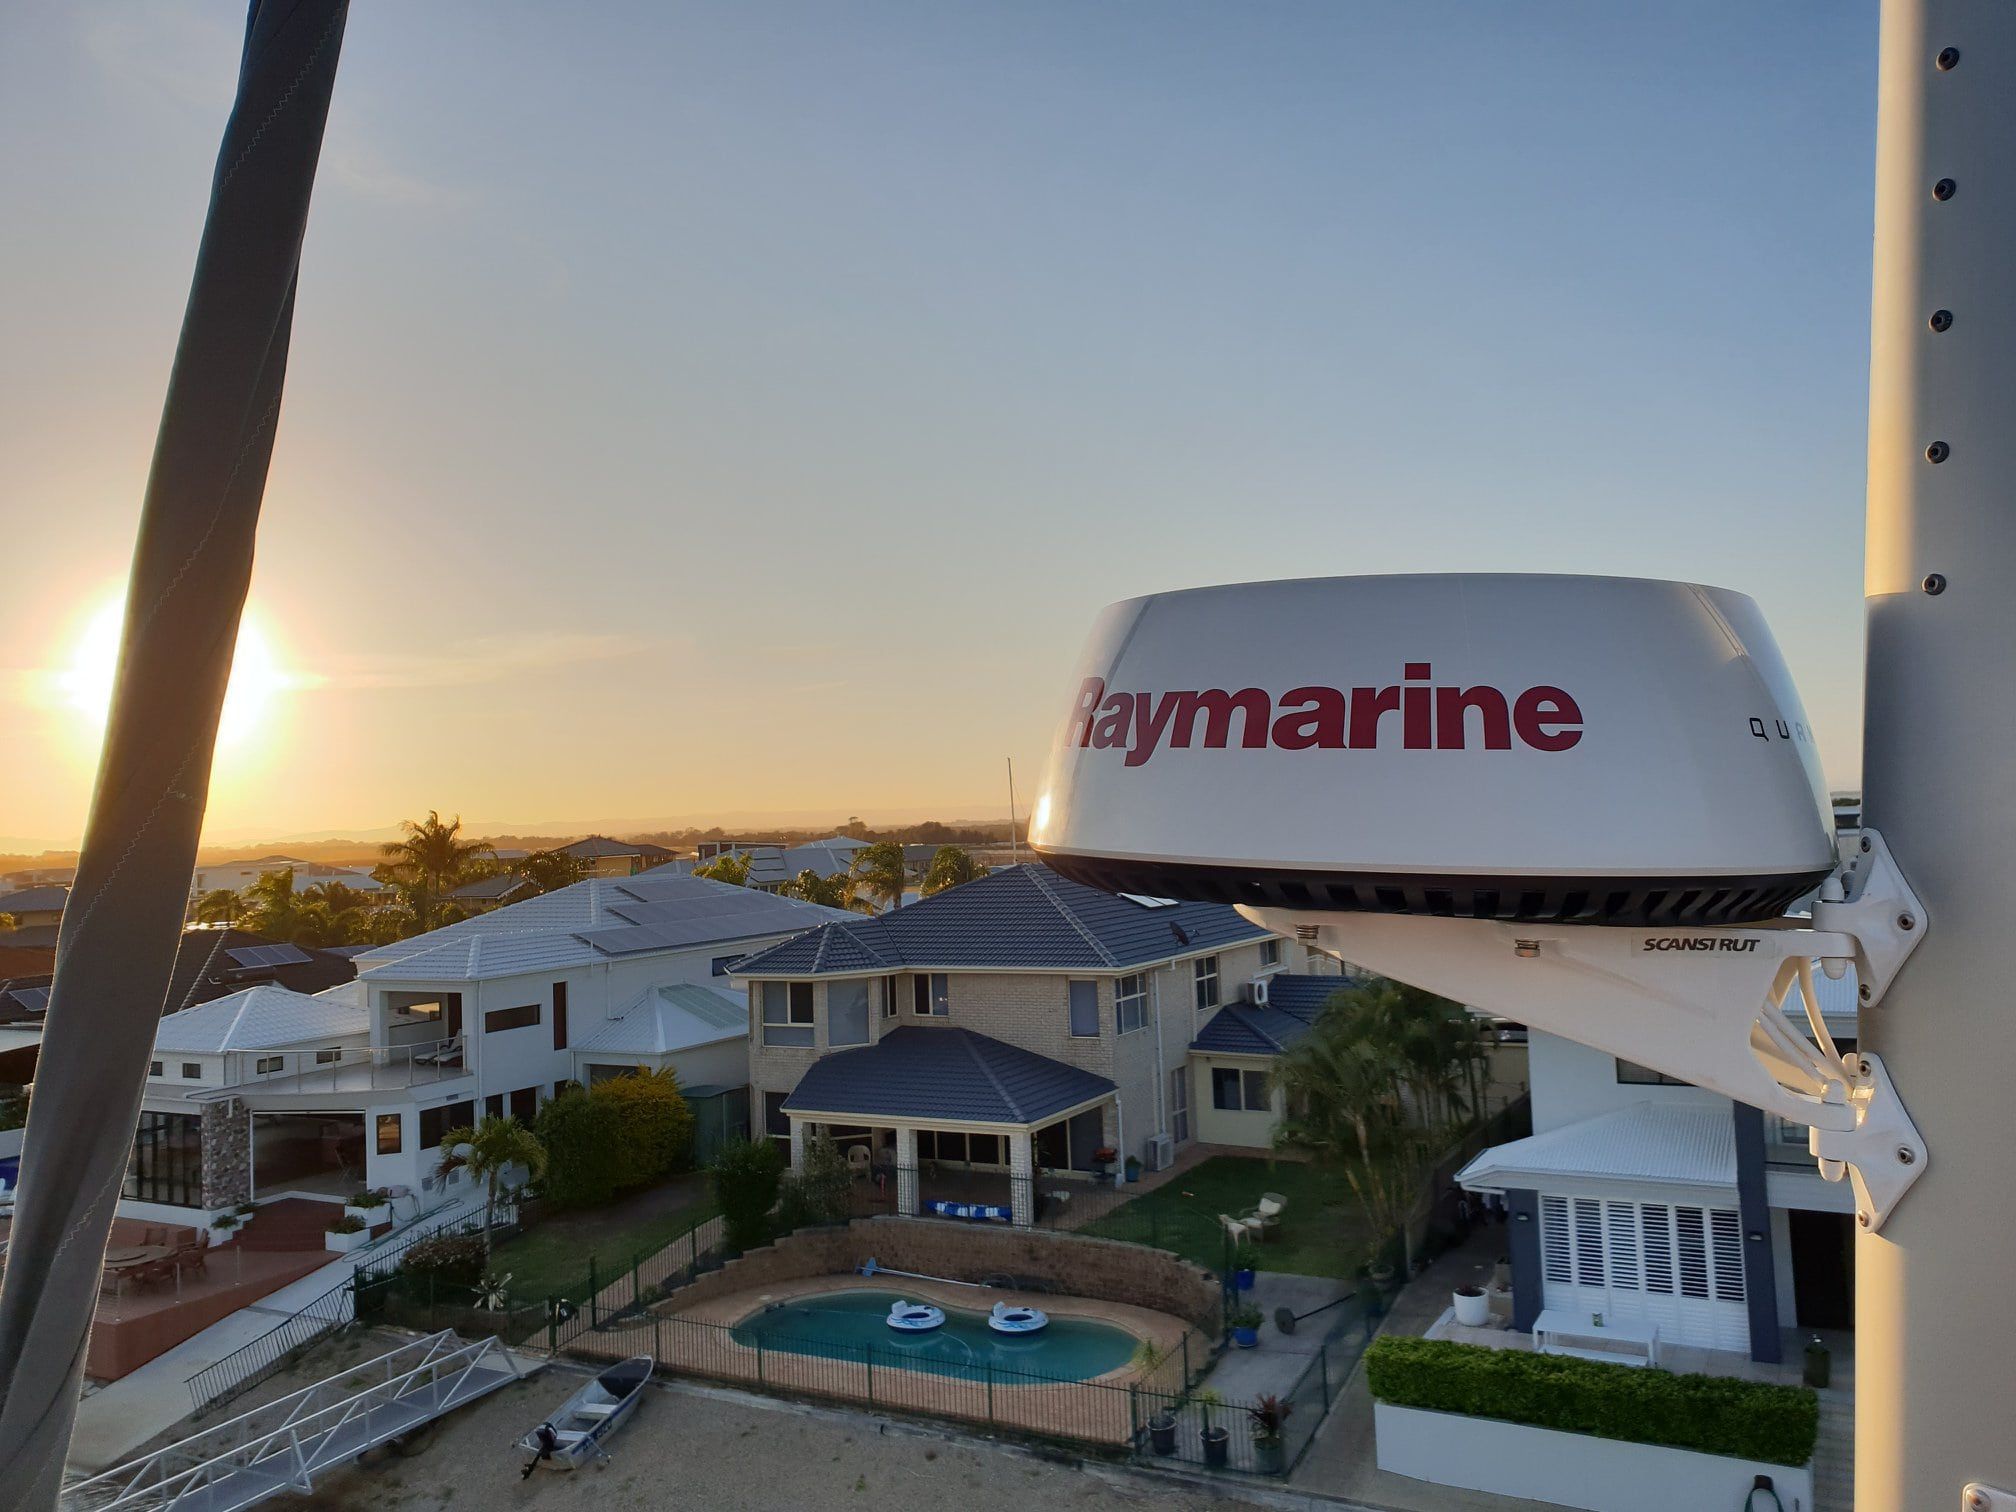
The higher a radar is mounted, the greater its range,
An older magnetron radome might weigh around 10kg (22 lb) and a new generation solid-state radome can be around 6kg (13 lb). The higher the radome is fitted above the yacht’s vertical centre of gravity, the greater the effect it will have in reducing the yacht’s stability. Don’t panic, though. Fitting a radar on your mast won’t suddenly make your boat fall over, she will just lose a little bit of stability – heeling over more quickly and an increase in rocking motion whilst at anchor would be extreme examples. Whether you notice it or not will depend on the size and style of boat.
Adding a 10kg radome with a self-levelling bracket (3.5kg) 8m above the waterline could reduce the effective ballast 1m below the waterline by 108kg, and it gets worse the higher it’s fitted. Take it to 16m and you’ll have lost 216kg of ballast. Not only does it effectively remove ballast, it also increases windage. The higher up the radar is mounted, the greater the effect of windage will be.
Yacht designers take into account that things like radar and furling genoas could be added to a yacht’s mast, so their weight and windage are accounted for. If, however, you have already added davits, a wind generator, and bimini on a small lifting-keel yacht, and then have the brainwave to take a radome and mount it at the very top of the mast (don’t laugh, we’ve seen it done), you’re not helping yourself or your boat.
The science behind how high a radar needs to be
You don’t need to know the exact science and there is no optimum height of mounting your radar, but giving you a few figures should help to understand the ‘hows’ and ‘whys’ and help you make an informed choice. That said, the sea is rarely flat and motionless, and you’ll seldom be looking in the right direction, so all these calculations are theoretical and are to be taken with a big pinch of salt if you wanted to compare them to life in the real world. Don’t worry if you feel you’re getting tied up in the figures, these are just rough examples, and if you want to skip this section you can (we won’t tell anyone).
If you were sitting in the cockpit and your eye line was 2m (6ft) above the waterline you could, in theory, see 2.7 nautical miles (nm). Radar at the same height could see 3.2nm. It doesn’t sound far, but that would be the distance of the object if it were flat on the horizon. Therefore, if the object you were looking at was 2m high, the distance you and the radar first see it would double. The total line-of-sight distance is your line of sight to the horizon added to the object’s line of sight.

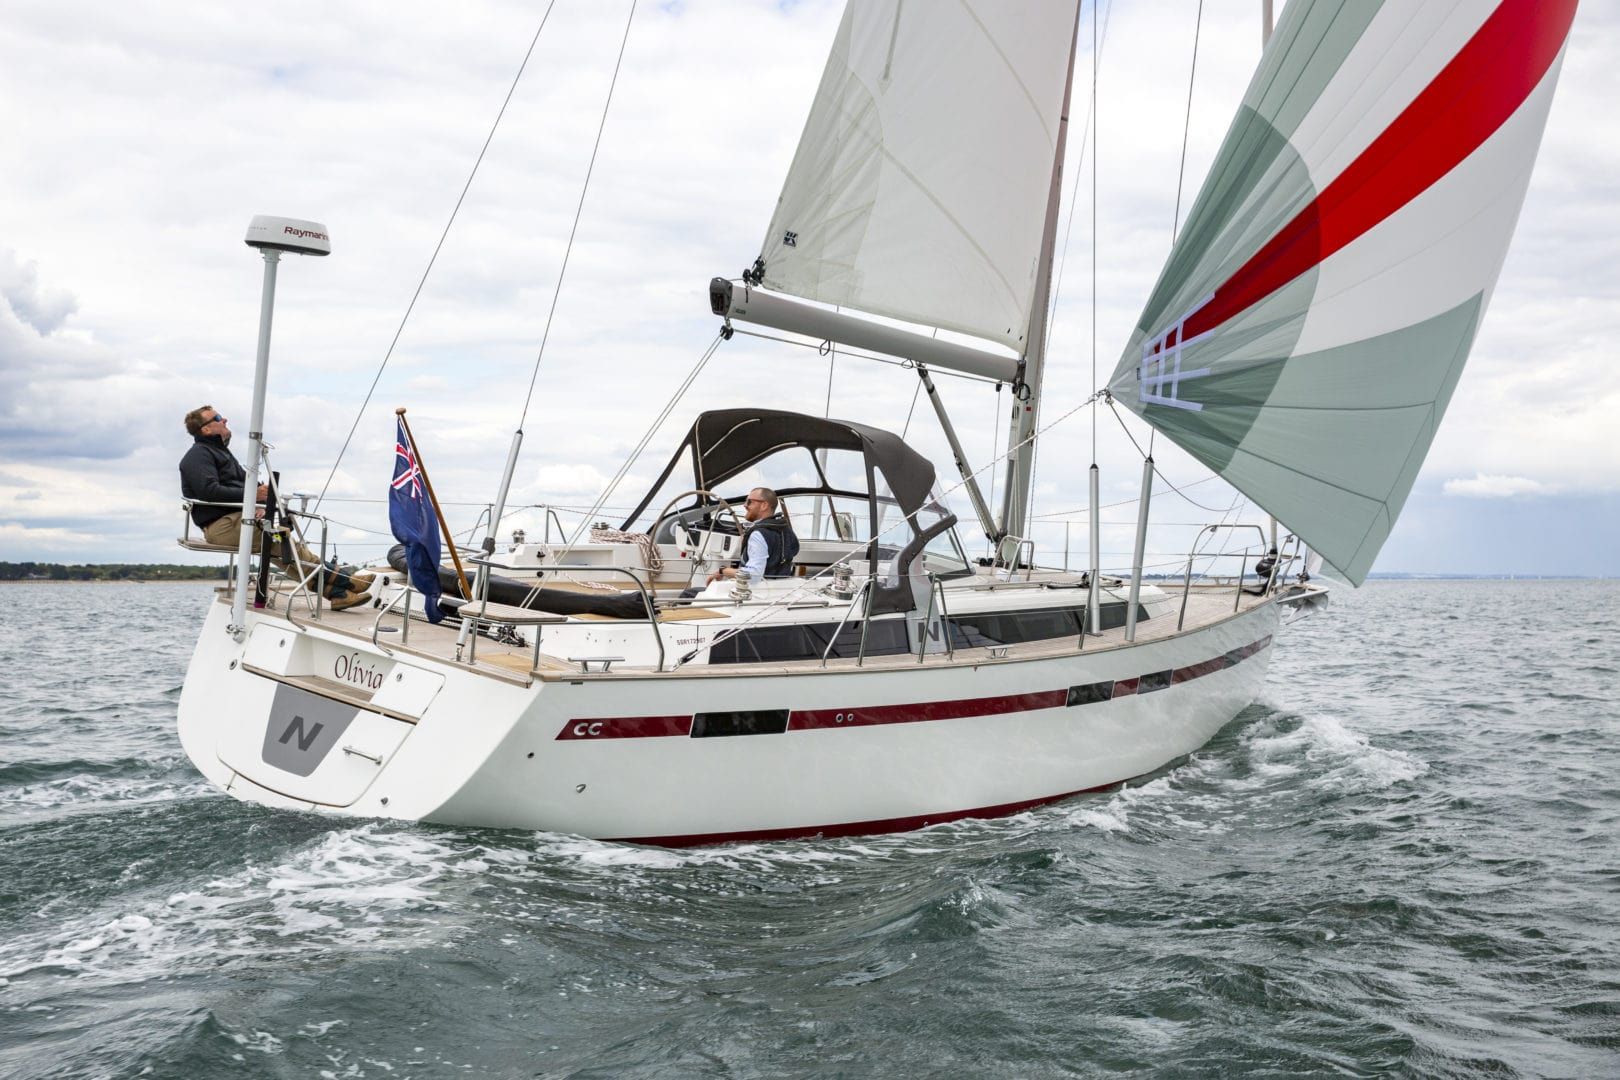
A radar mounted 3.5m above the waterline would have a line-of-sight of 4.2nm
If you were looking for some cliffs that were 150m high and your eyes were 2m above the waterline, you should start seeing them when you’re 26nm away (23.6nm + 2.7nm). Likewise, if a ship is, say, 30m high, the furthest it would be possible to see it from would be 13.3nm (10.6nm + 2.7nm). If that ship is travelling towards you at 25 knots, the maximum time you’ll have to assess the possibility of a collision is just over half an hour (31 minutes), and less than that if you’re sailing towards it and don’t spot it for a while.
Using radar mounted on a mast 8m from the waterline, it will have a 6.3nm line of sight. Mounted on a pole around 3.5m from the waterline, it would have a 4.2nm line of sight. Assuming the subject is the same, raising the radar 4.5m higher on the mast will give you just under 5 minutes more notice. If this 30m high ship was heading for you at 25 knots, assuming you have your radar set at 18 miles and noticed the ship straight away, you’d have 44 mins with the radar 8m above the waterline or 39 minutes with the pole and the radar mounted 3.5m off the waterline. You can see there isn’t a lot in it, but radar can see targets you can’t, especially in restricted visibility.
Knowing the limitations of radar
On the water, things are rarely so clean cut. While distance used to matter with big shipping, since the advent of AIS (Automatic Identification System) larger shipping is less of a problem for yachts fitted with AIS receivers. That said, there are still many vessels and objects that don’t use AIS – other leisure boats, fishing boats, buoyage, rocks and islands being the most obvious – so it’s the ability to identify these objects day or night, in sunshine or fog, that makes radar so useful to have on board.
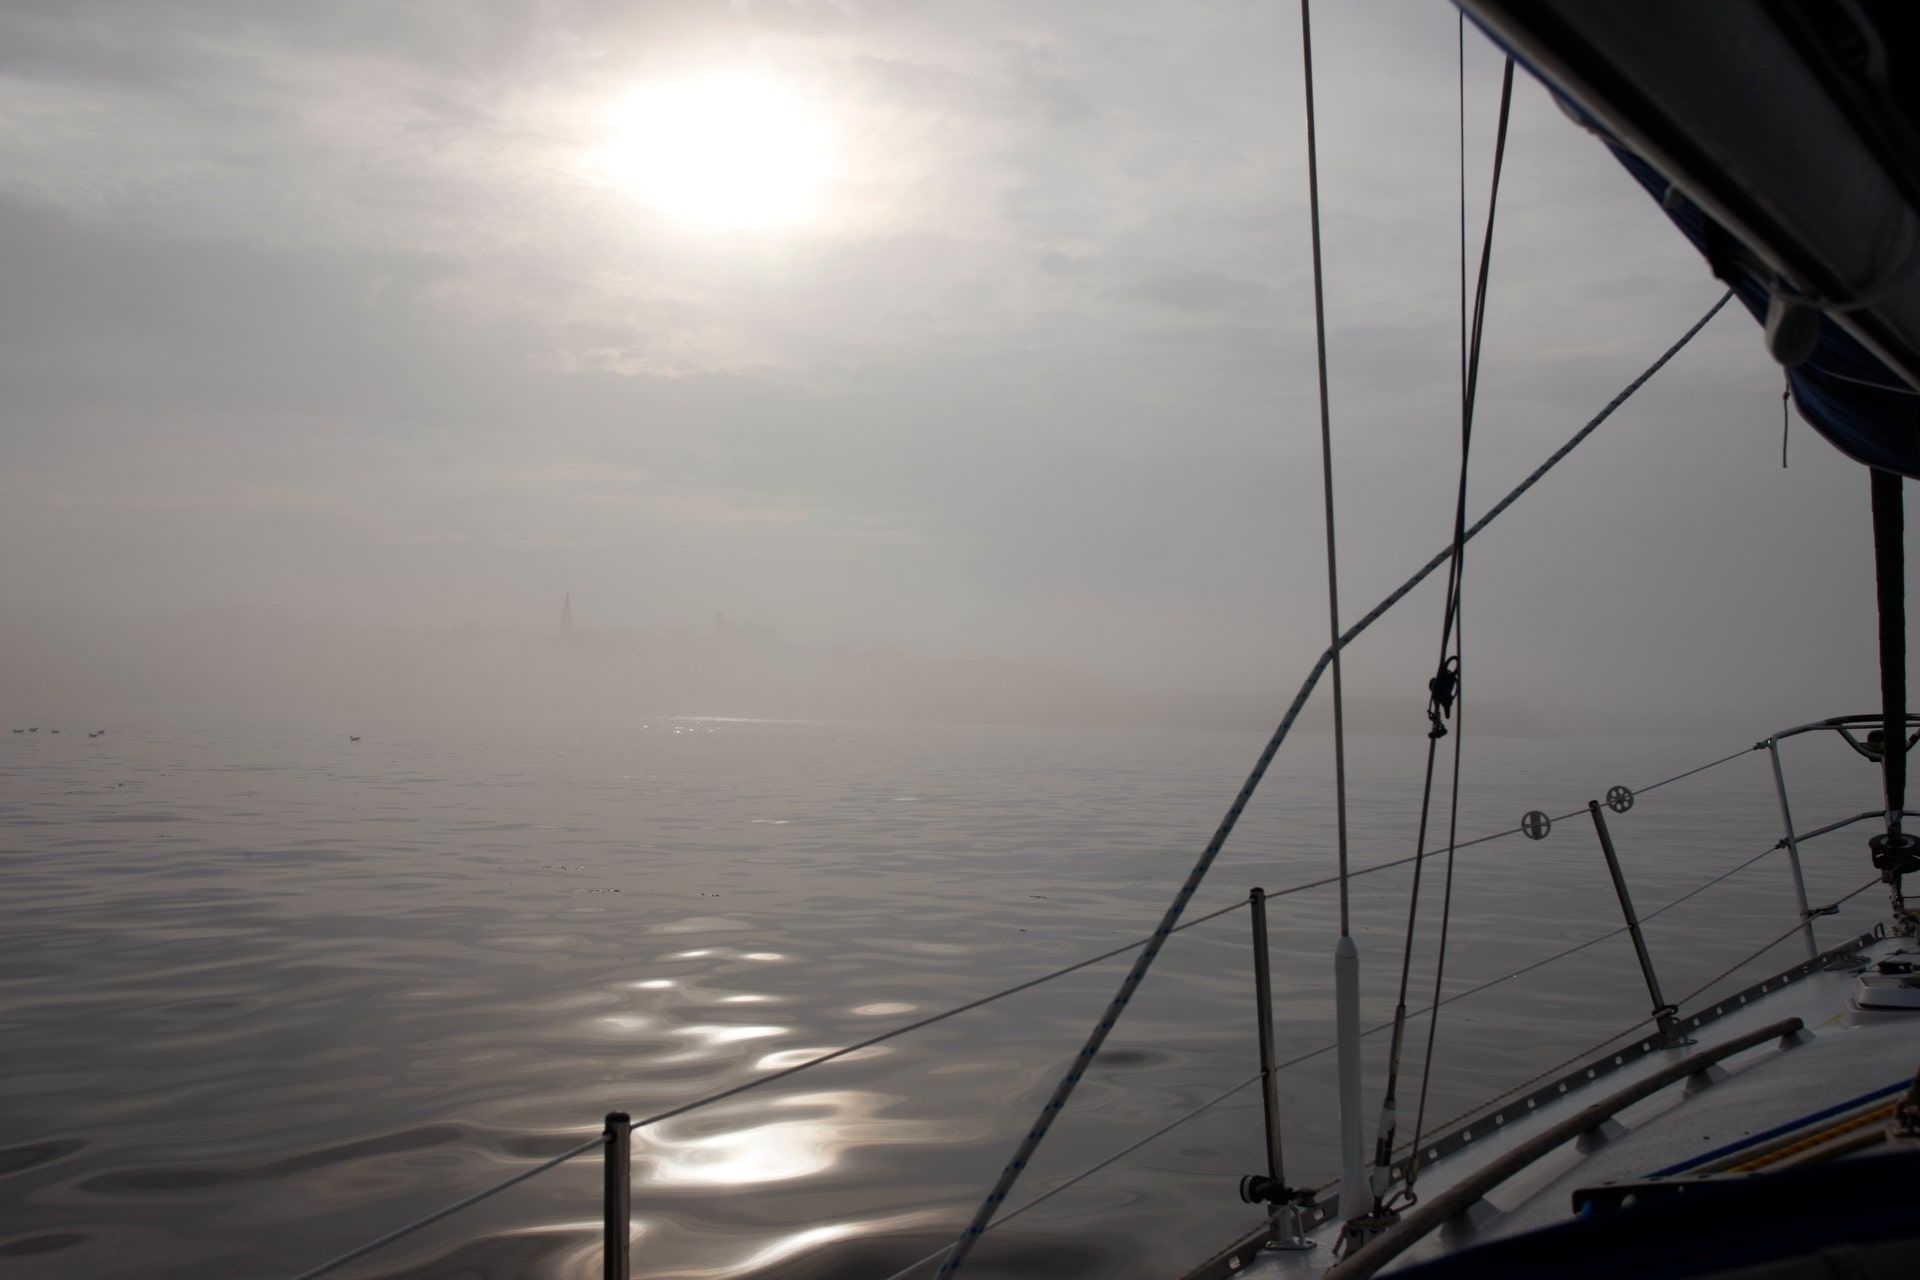
While AIS has reduced the necessity of radar for identifying shipping,
there are time such as approaching an unfamiliar harbour in fog when radar feels priceless.
Also, we should consider the vessel’s angle of heel. If the yacht is heeling over at 20°, a radome at 8m height will be lowered by 48cm, while a radome at 3.5m height will be lowered by 21cm. This isn’t significant – you can expect more than this difference from an average wave height. What does make a difference, though, is the horizontal beamwidth of the radar as the antenna heels over. Most radar antennas transmit with a horizontal beamwidth of between 20-25°, allowing 10°-12.5° above and below the horizontal axis of the antenna. After 15 degrees of heel, the efficiency of the radar is reduced because on one side it’s pointing into the sea, and on the other side into the sky… unless you were to fit a self-levelling mount that keeps the radar horizontal at all angles of heel.
Radar is also limited in the range it can transmit and detect. Magnetron antenna was around 48nm; modern CHIRP or broadband radar has less range, usually between 24 and 36nm. While we’re talking about power, radar transmits electromagnetic energy at microwave frequencies so the scanner must always be mounted above head height and must never be used when people are very close or in line with the horizontal axis of the scanner.
Many manufacturers are offering wireless radar, but this is perhaps a misnomer as the radar still requires a power cable to be routed to wherever the radome is fitted, and if you’re fitting one cable, it’s only a little more effort to fit two. Some sailors embrace new technology and opt for wireless systems, but many others are understandably reluctant to rely on Wi-Fi connections – a break in a streaming movie will have less of an impact than a loss in communication with your radar when you really need it. There’s no reason why a wireless radar should have connection problems and hard-wired systems aren’t impervious to faults either. However, accessing a radome at deck level is easier than one high up a mast.
Mounting Options:
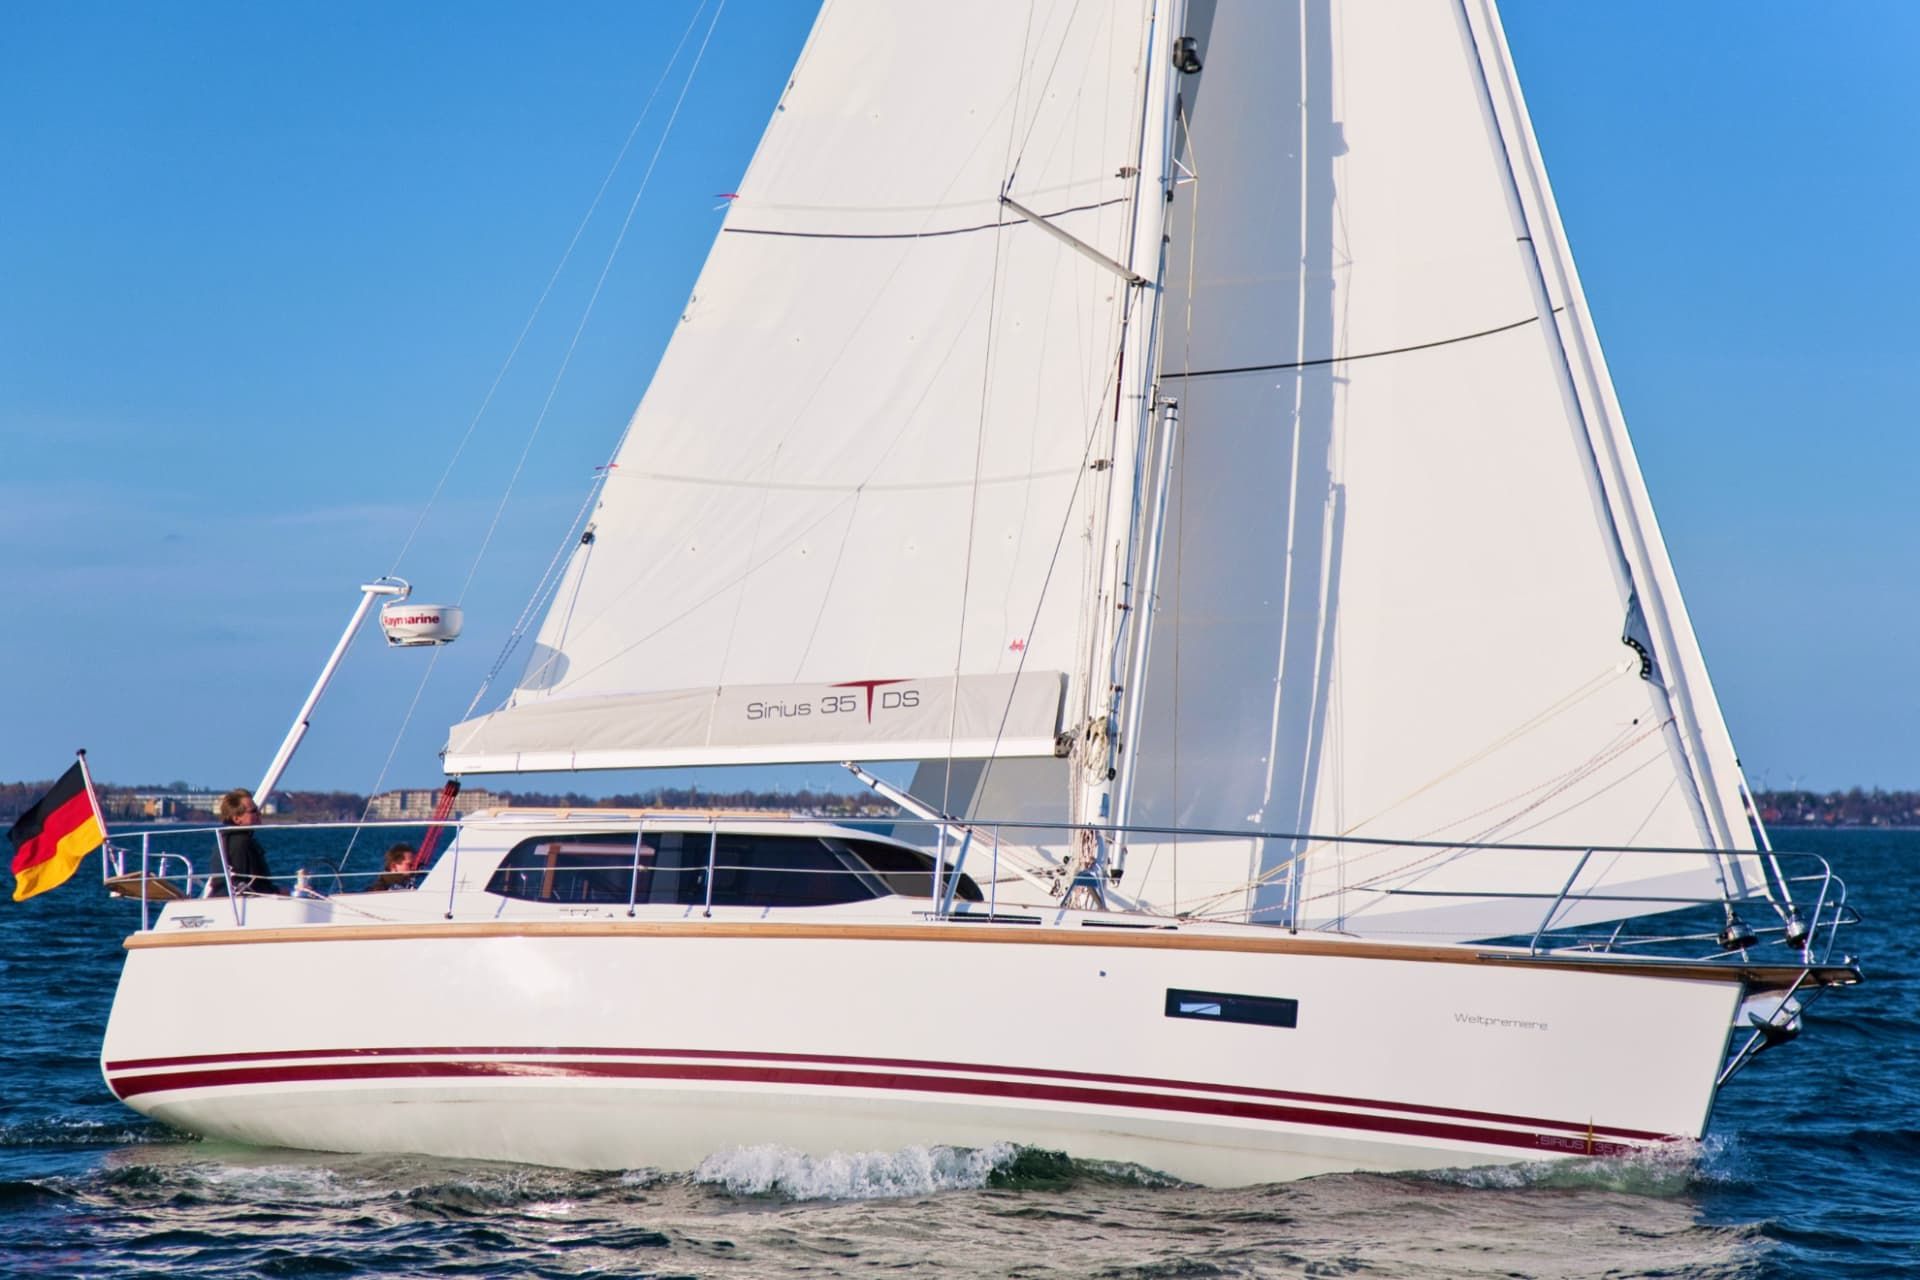
Mast: Forward/Side/Self-levelling
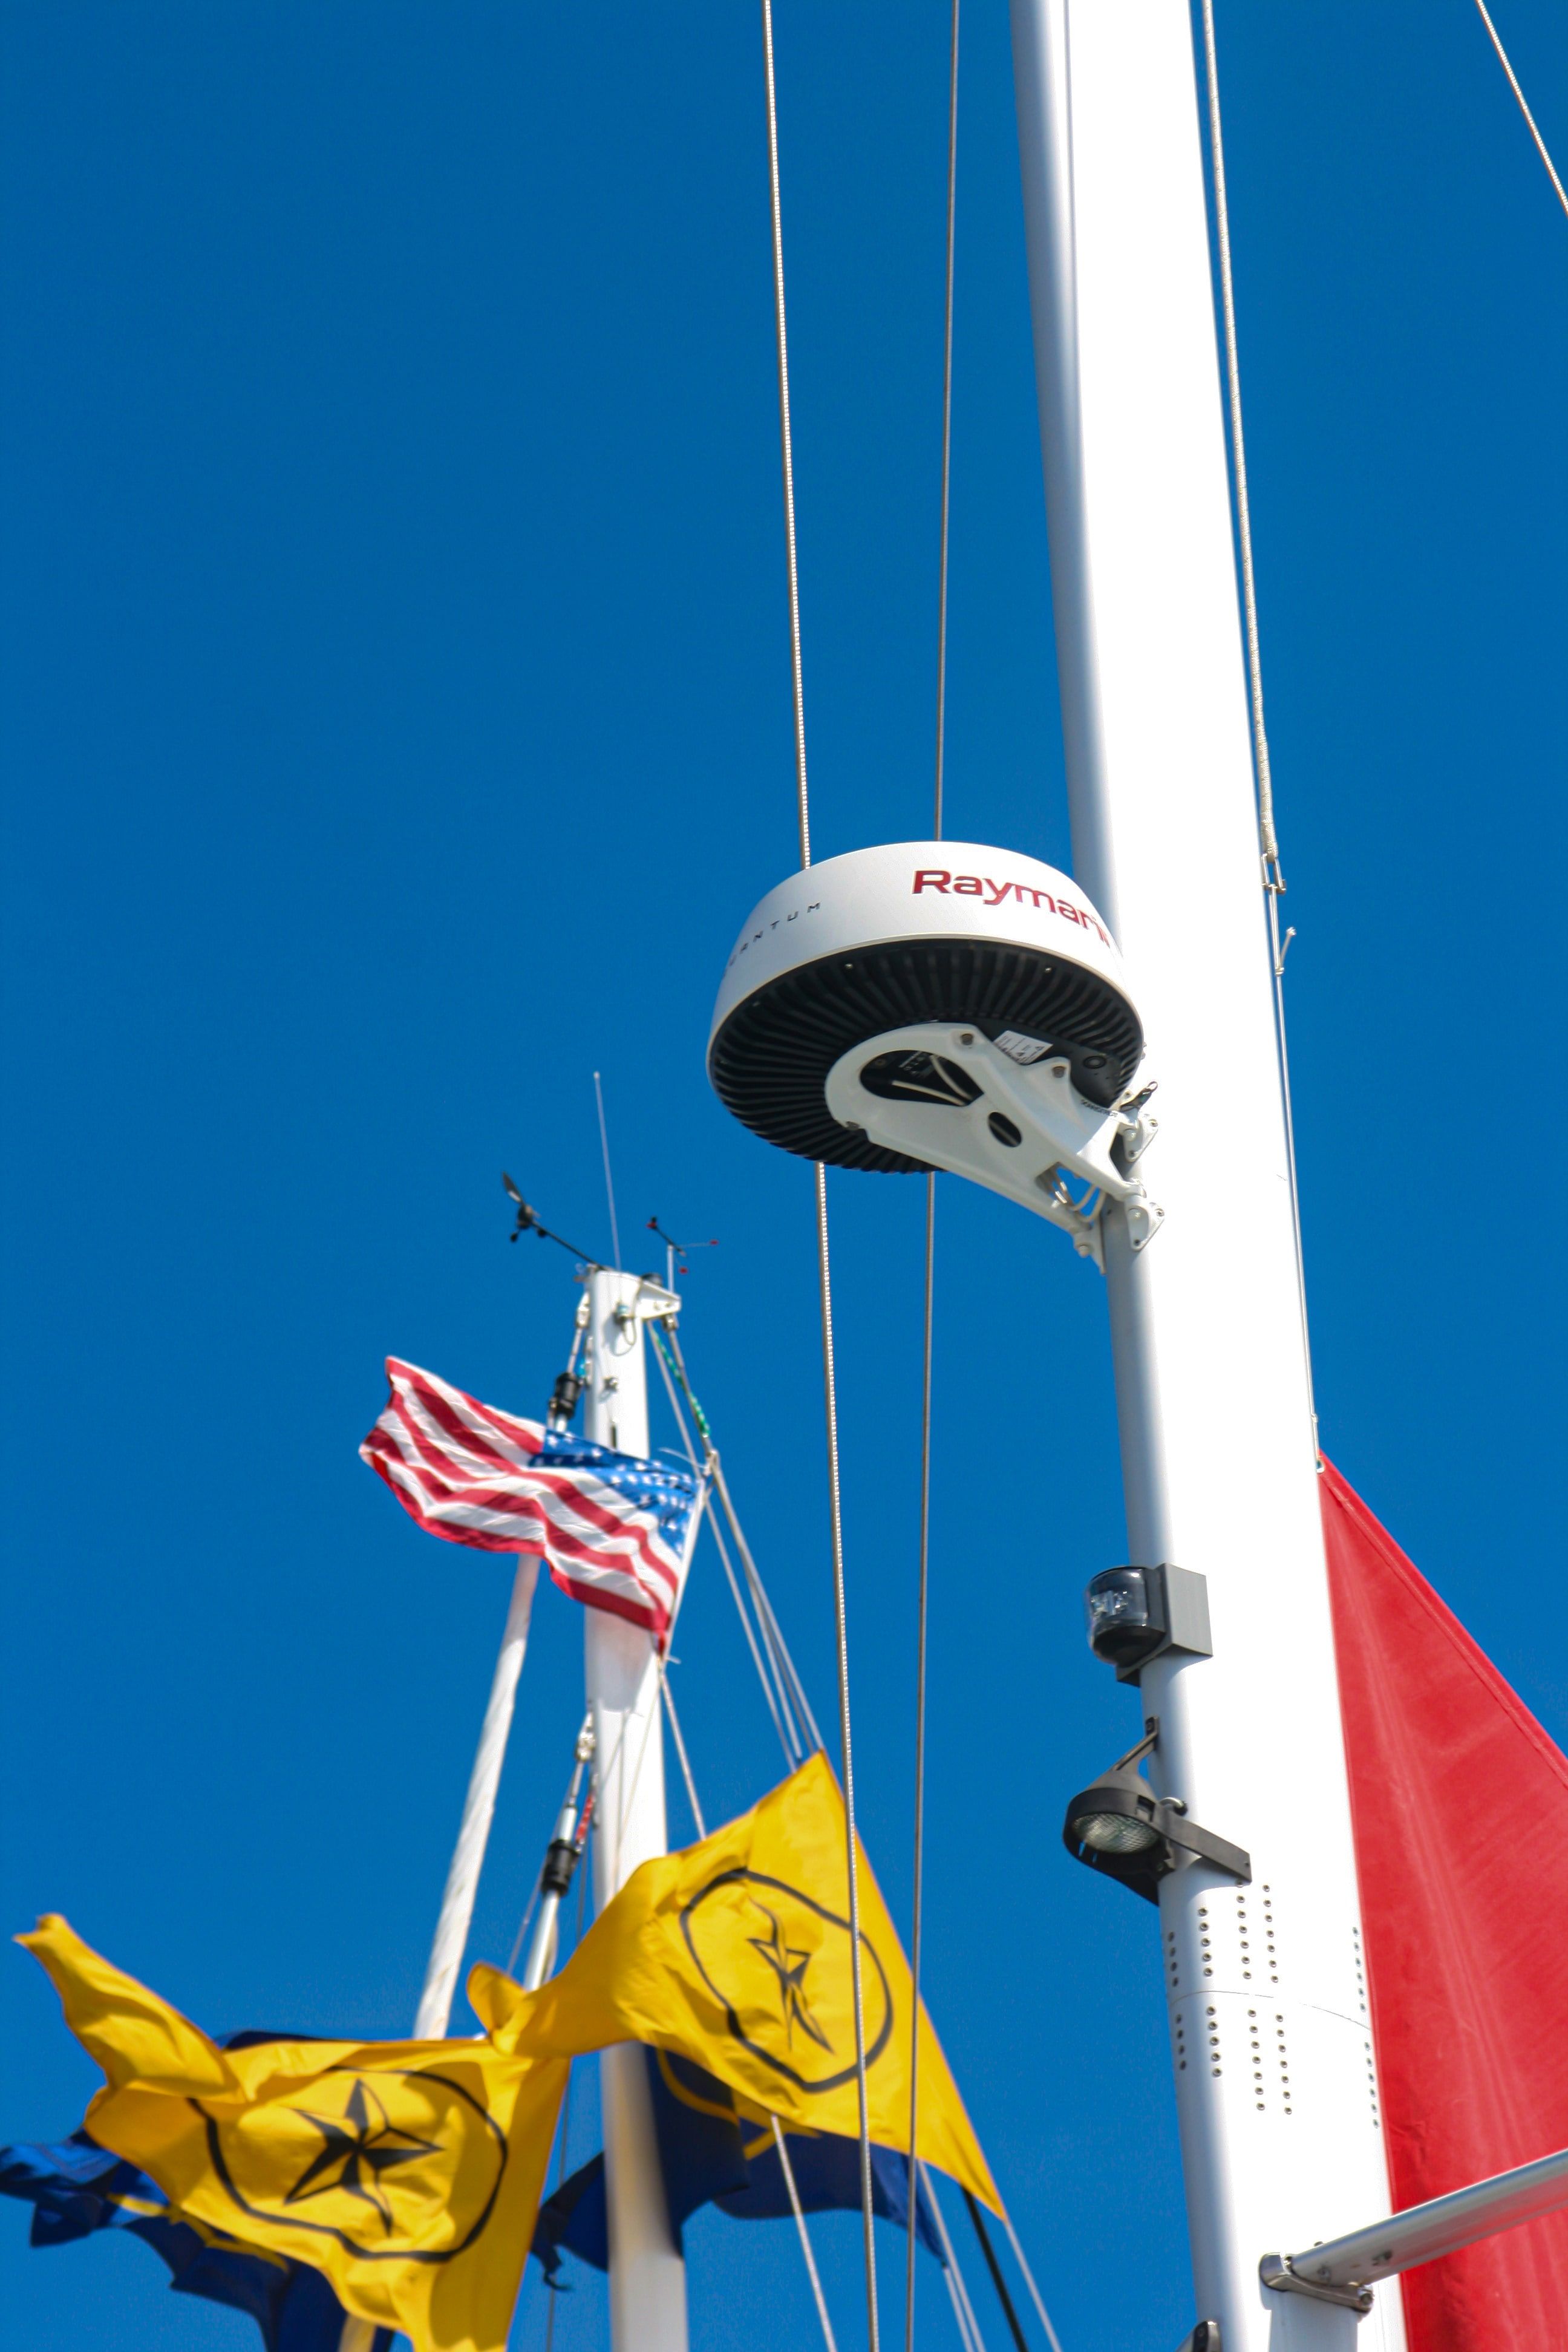
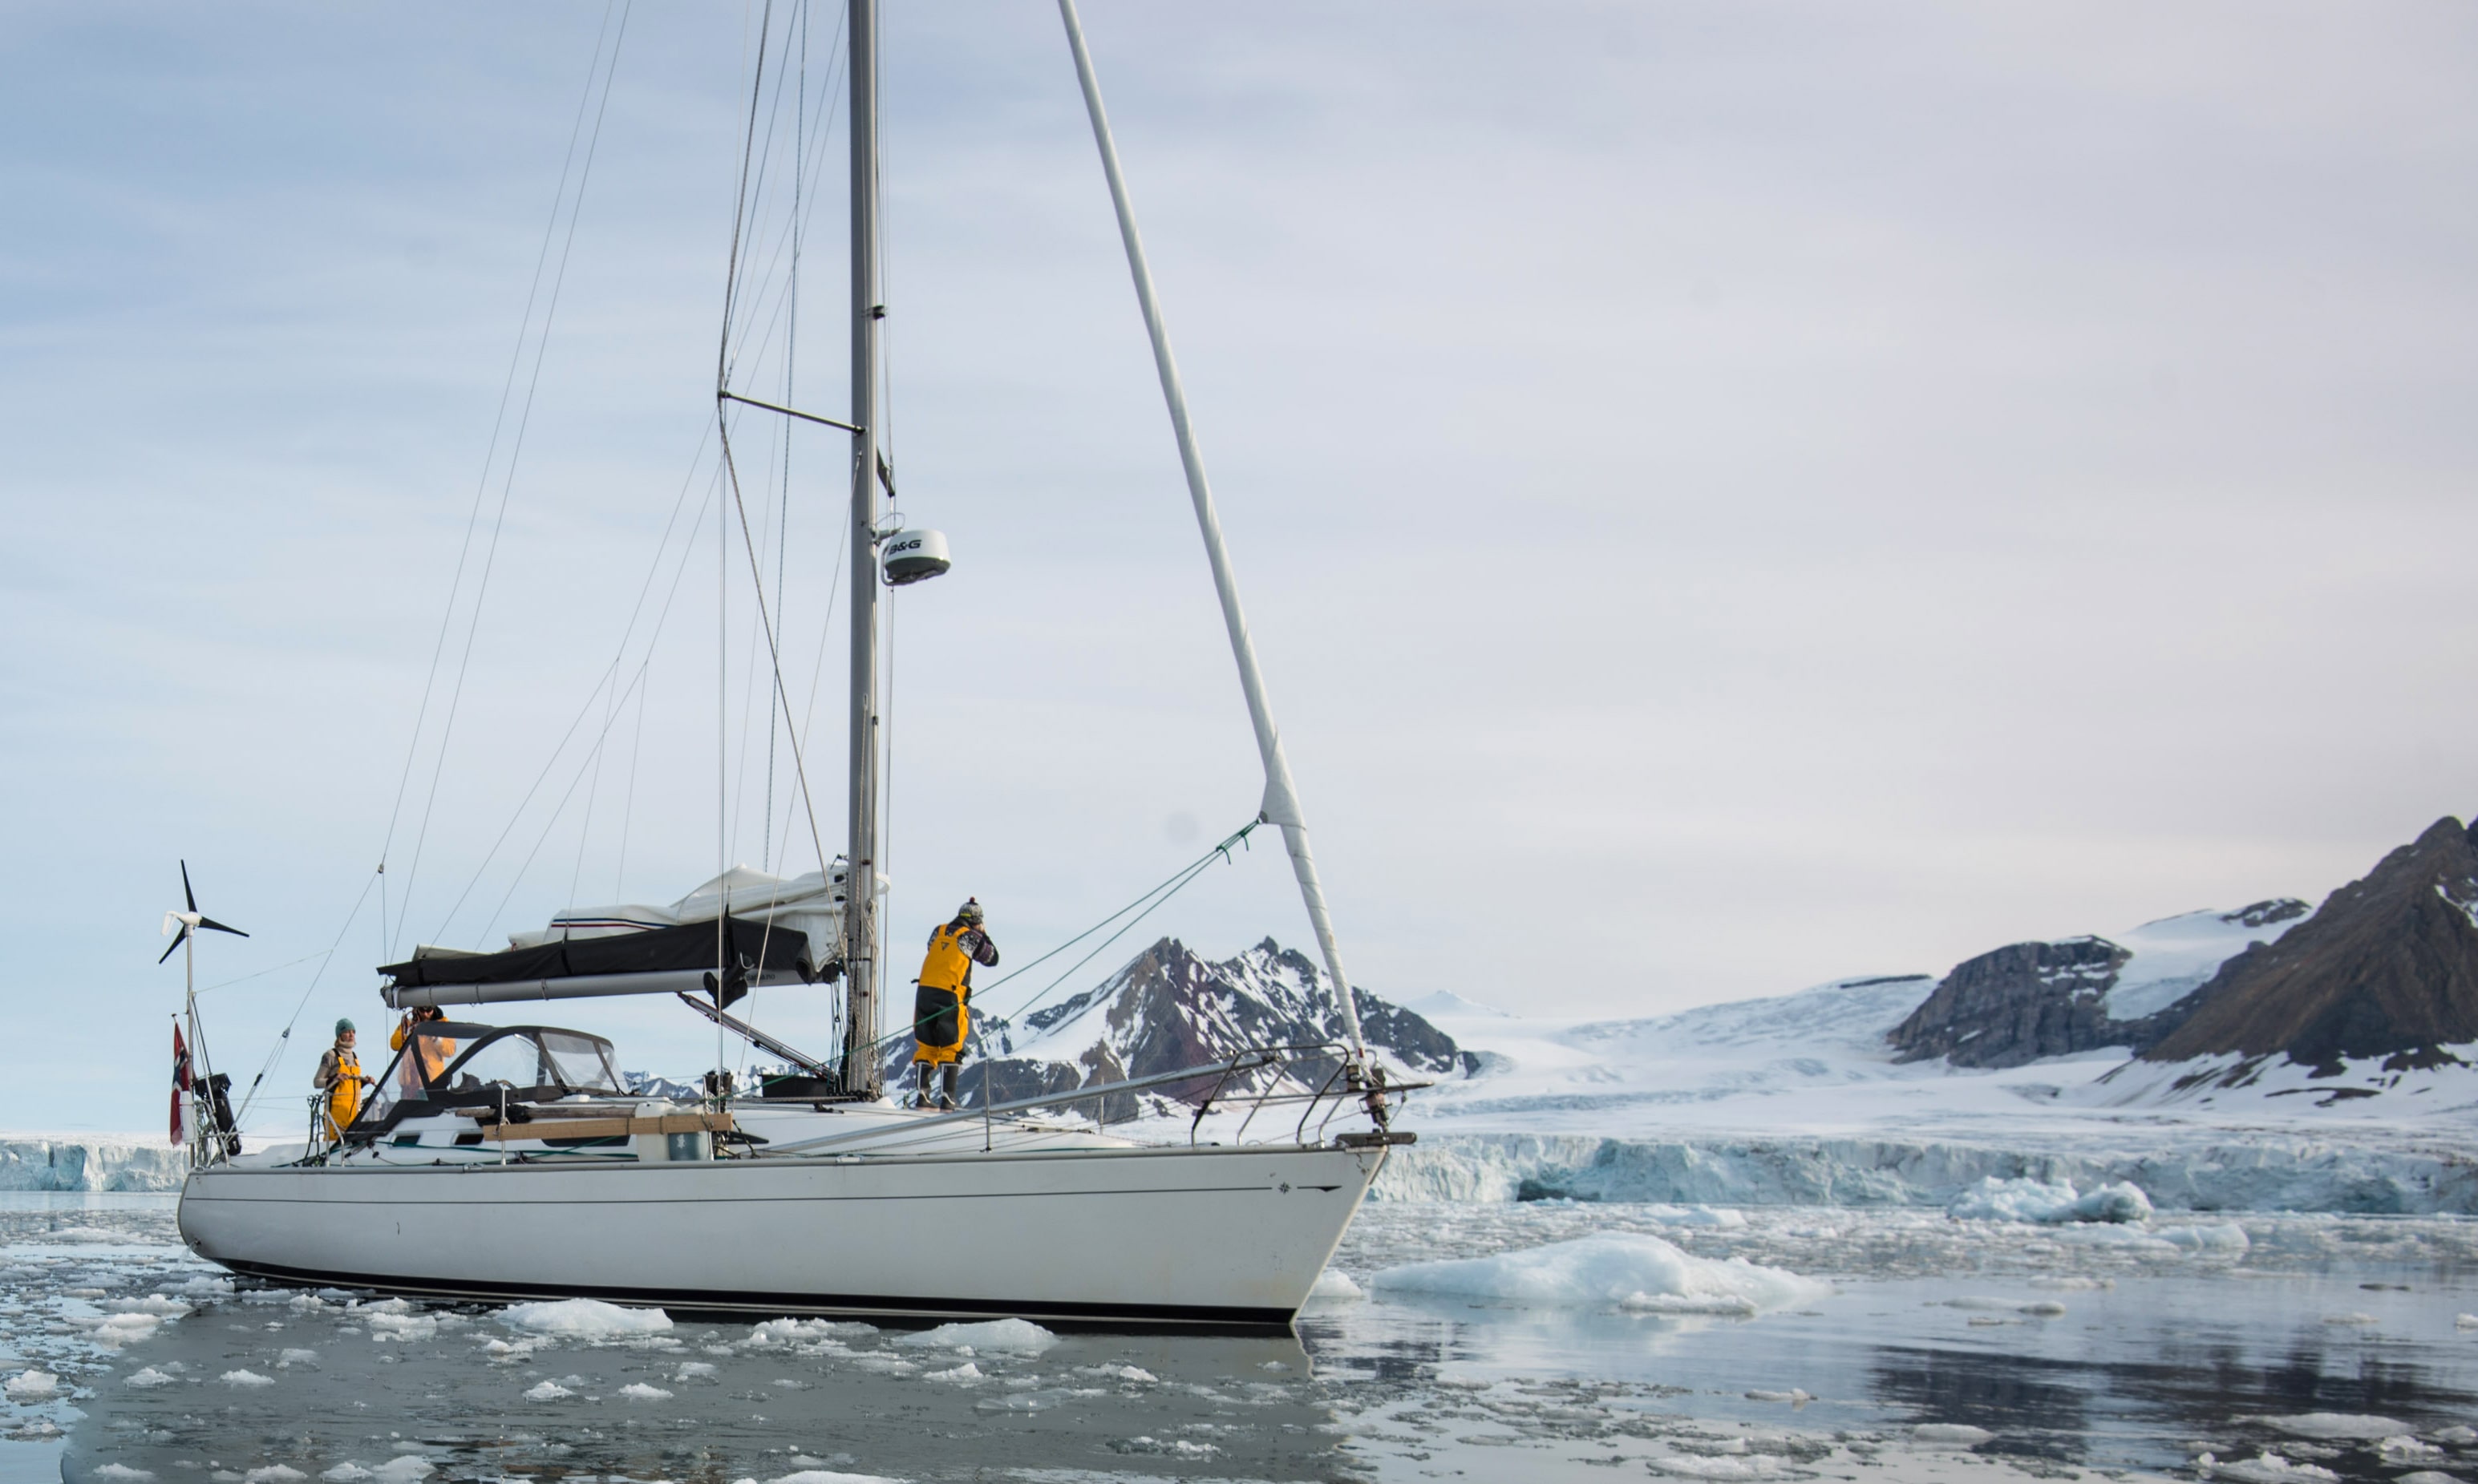
Mast mounting a radar is a popular choice as it keeps the radome high and out of the way
Mast mounting radar is popular because it raises the radome out of the way and it gives slightly more range. If a simple mount is used, this is also the most cost-effective option.
Fitting the radome forward of the mast usually means it comes into contact with the headsail. But Scanstrut offer a number of radar guards to reduce this risk and to stop potential wear on the sail. We also supply a safety wire to secure the mount to the mast in case the mount and radar get caught by the sail.
One way to reduce the vulnerability is to side-mount the radar. This is usually done on the starboard side because, under the Colregs, that’s the side on which stand-on vessels are far more likely to approach you. Mounted here, the radome is slightly more protected but care must be taken not to allow the mainsail to chafe against it.
Mounting radar high up does increase windage, and the radome will have to be fitted either with the mast up, usually making it a two-person job, or with the mast is removed which can add to the cost of the installation. It’s also worth remembering that every time the mast is removed the cable/s will also have to be separated. Routing the cables from the mast to the chartplotter or network also has to be considered. The best way to do that will depend on whether your yacht has a deck-stepped or keel-stepped mast, and also on the best route for the cables to get from the mast step to your plotter or a network terminal.
A self-levelling mast mount improves the radar’s performance
To get the best performance out of a mast-mounted system, you should be looking for a self-levelling mount. They dampen the yacht’s rolling motion and keep the radar level, giving the antenna the optimum range whatever the heel angle of the yacht. On a mast, a self-levelling mount will only work when the radar is mounted forward of the mast, but as the radome is not rigidly fixed, the sail won’t snag it as easily.
It’s worth being aware that mounting a radome close to the mast can sometimes cause a blind spot where the mast obstructs the beam.
How to install a mast mount: https://youtu.be/KEKyxFnPMzc
Pole: Top/Self-levelling, dual mount
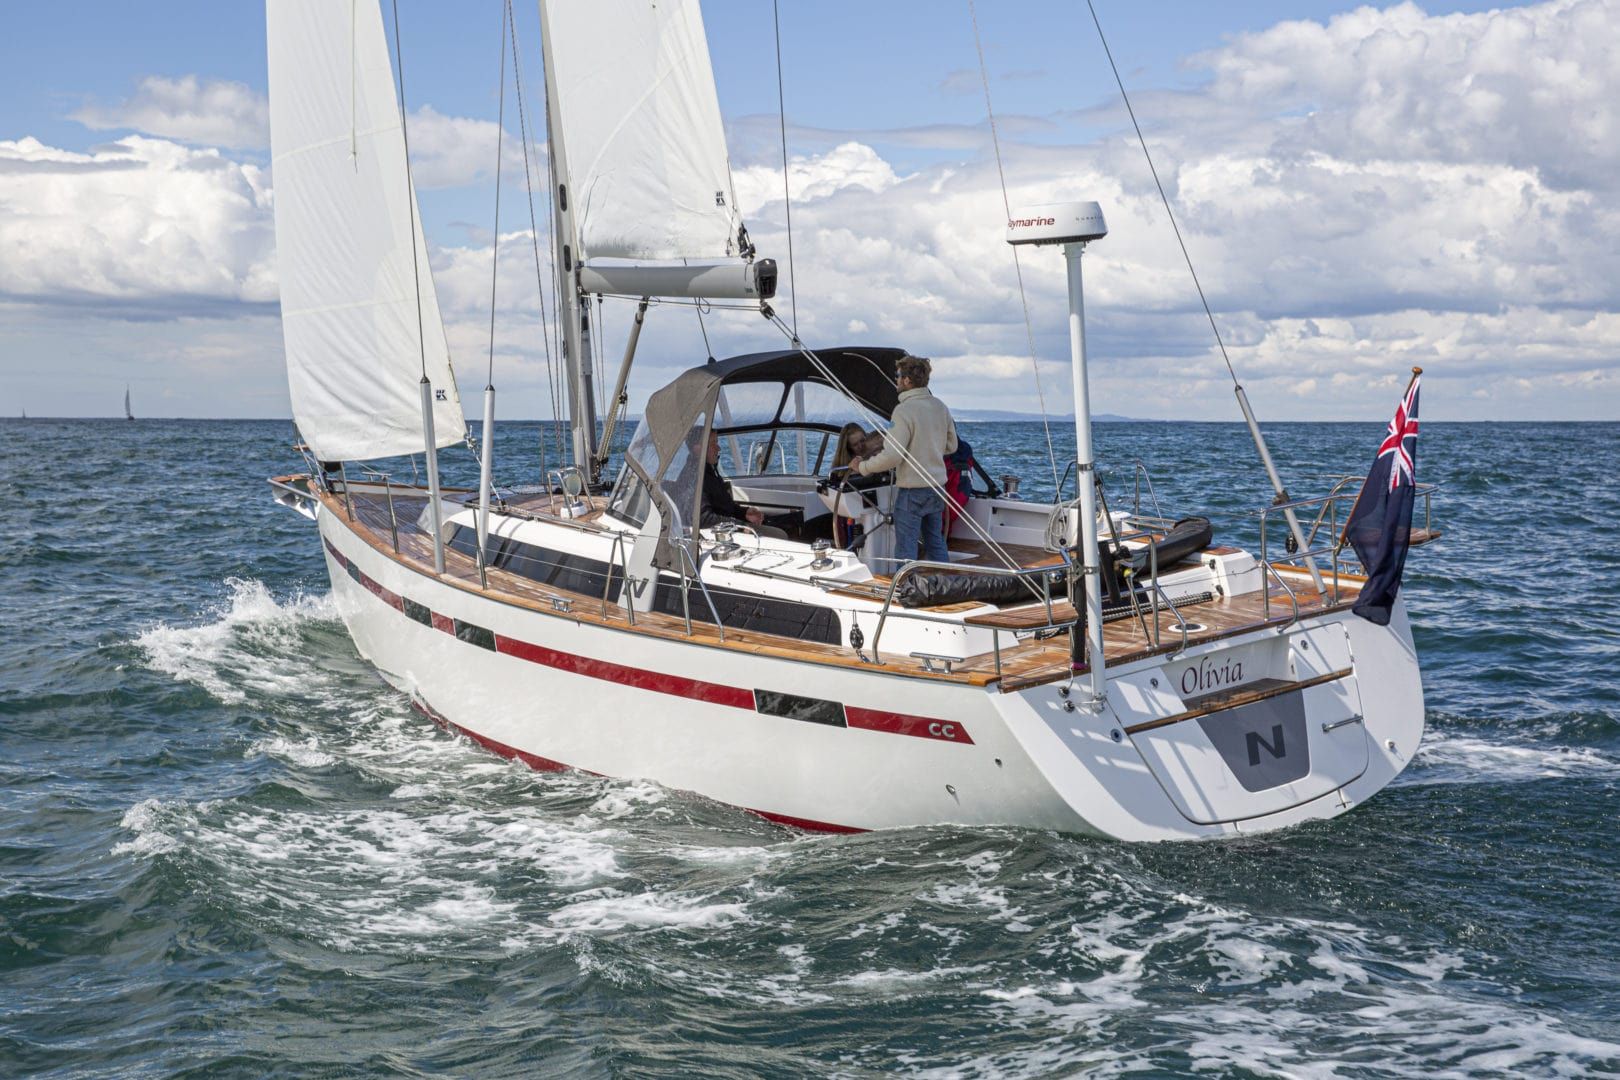
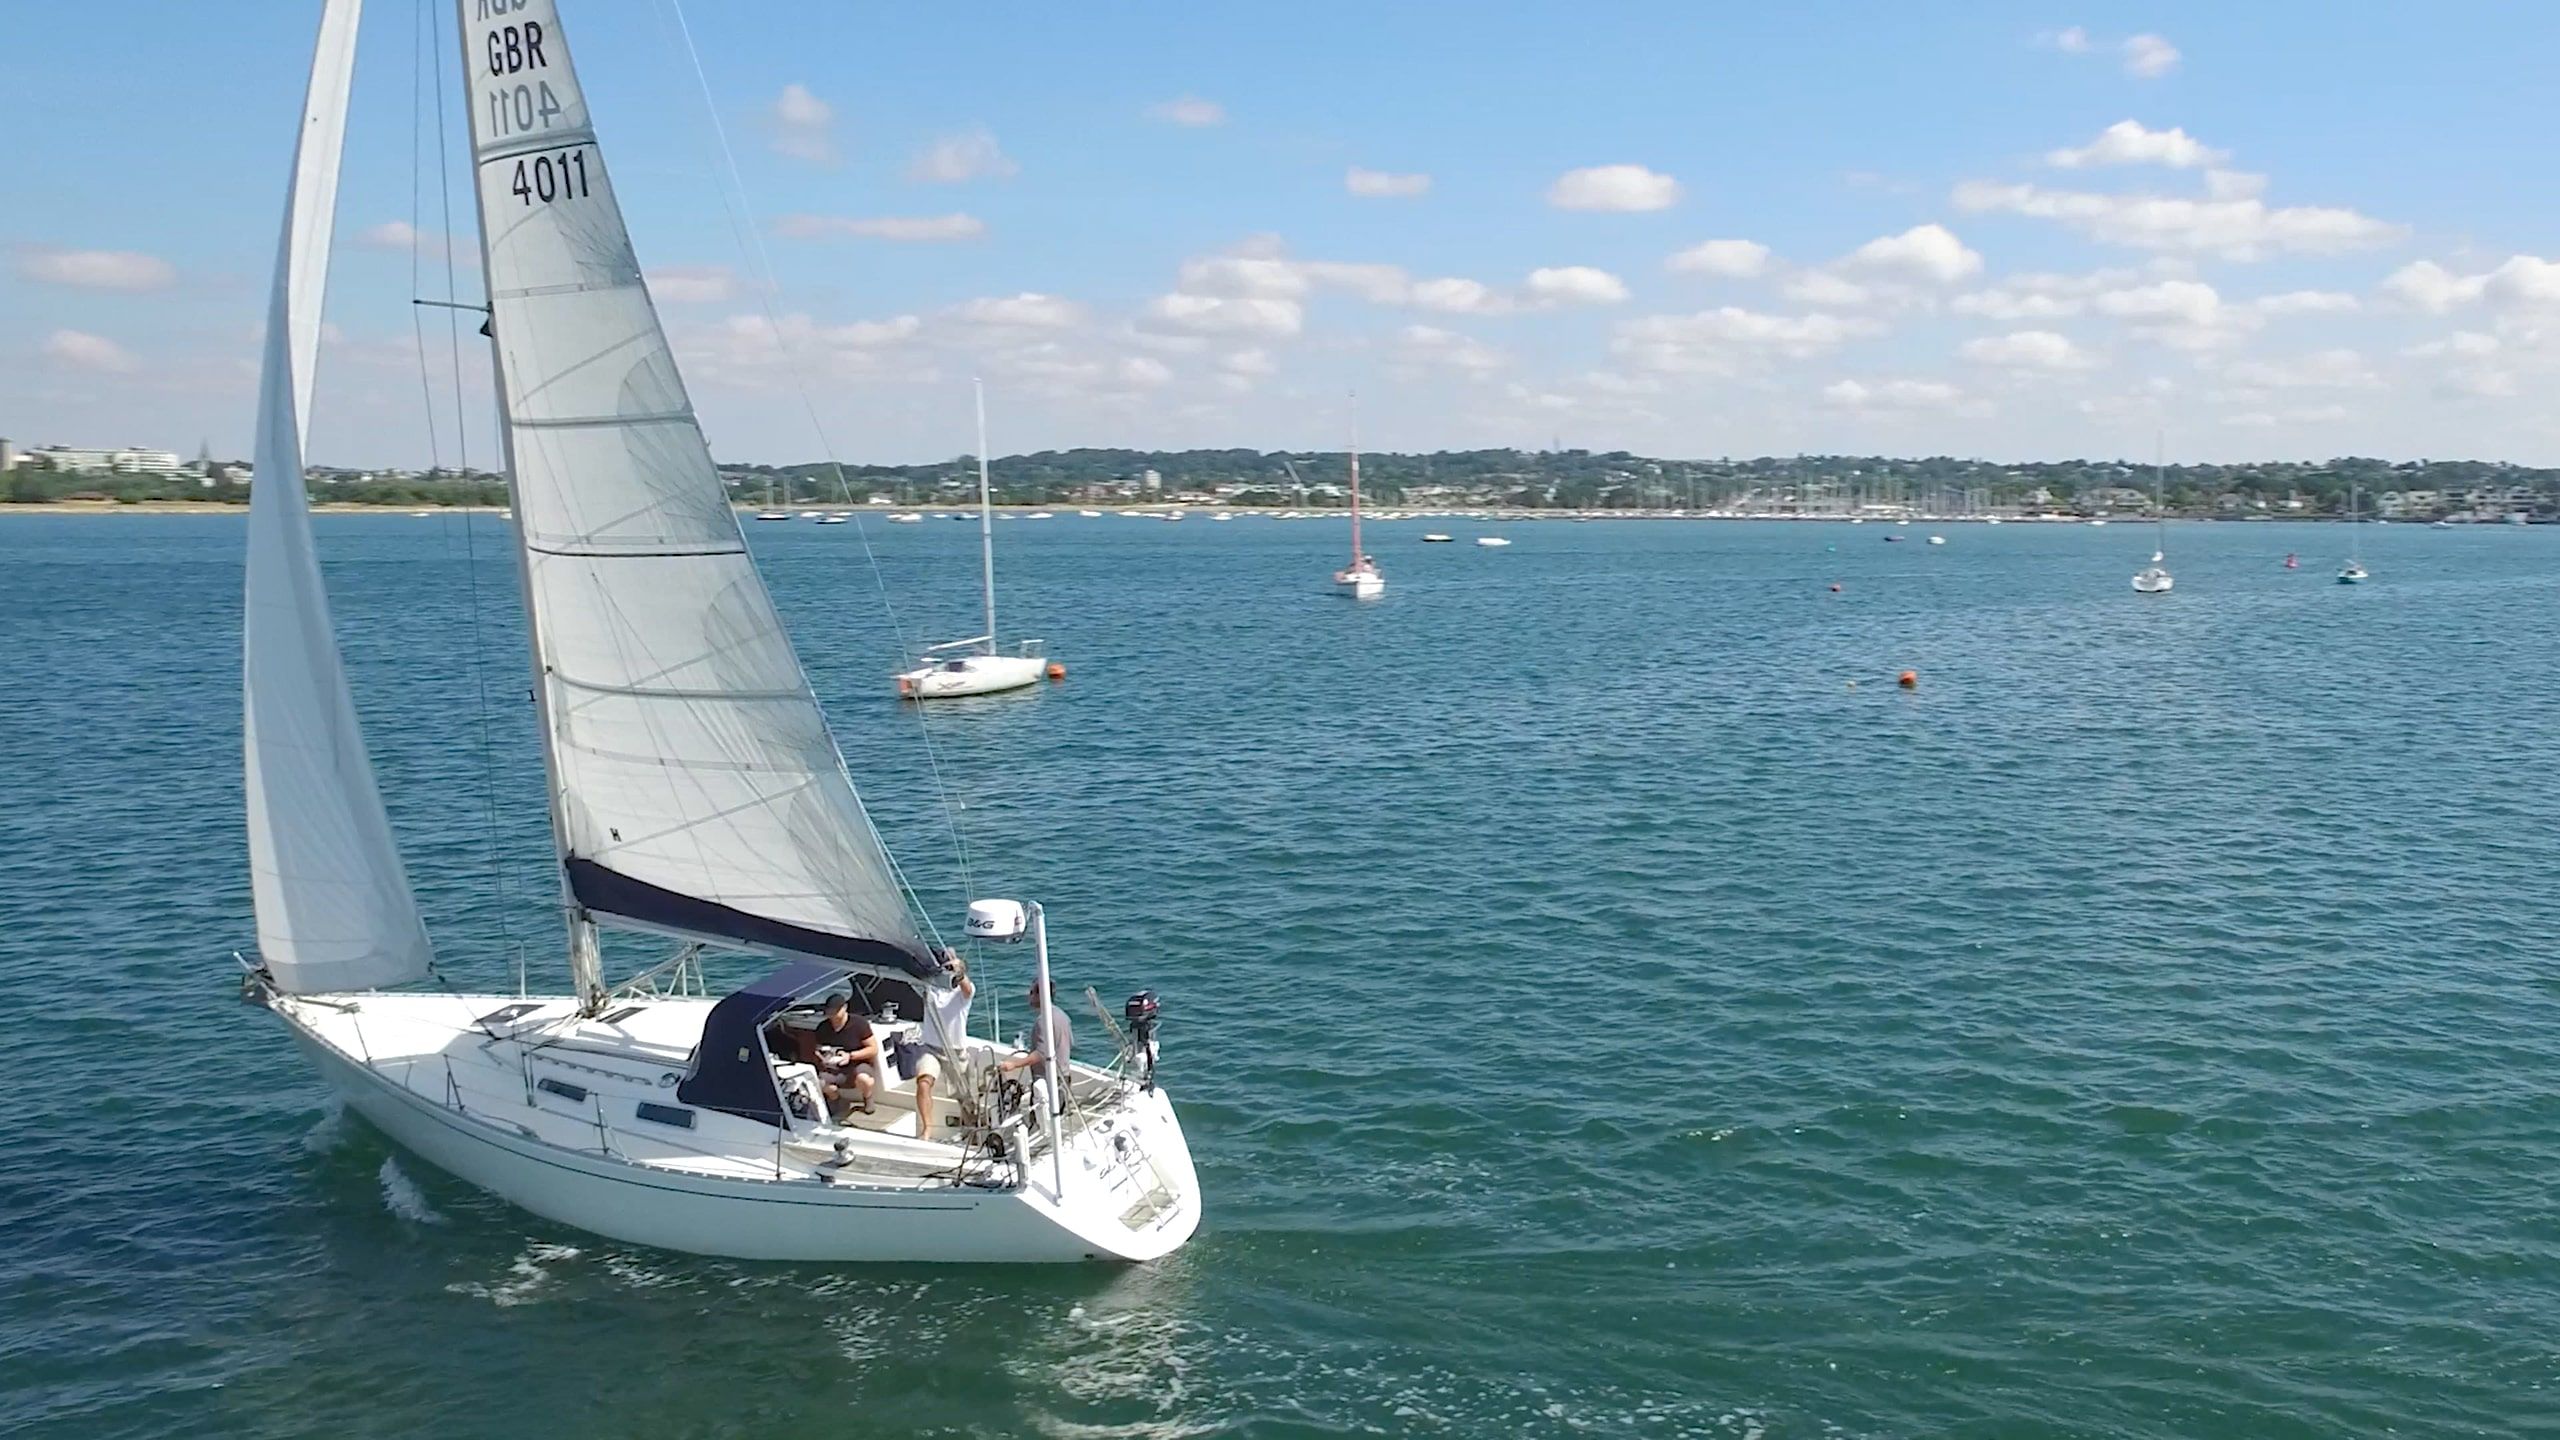
Having the radar mounted on a pole makes it less vulnerable and can add an extra handhold when boarding the yacht from the transom or when mooring stern-to.
If mounting a radar high up your yacht’s mast doesn’t appeal, another popular solution is to use our pole mount system at the rear of the vessel. The pole can either be mounted on the deck or on an angled bracket attached to the transom. The radar can be fitted flat onto a top plate on the pole. At Scanstrut we use a 1.9m (6ft 4in) pole length for a deck mount or a 2.5m (8ft 2in) pole for a transom mount. This keeps the radome a safe height above anyone in the cockpit or working on deck. Our mounting kits also include a stand-off mount to secure the pole to the yacht’s pushpit as well as a support strut to attach to the deck or coaming side, which gives the pole more support and greater rigidity.
As the aft end of the interior remains open for locker space or berths on many yachts, routing cables to a multifunction display either at the helm or at the chart table is often easier than running cables from the base of the mast. Pole mounting a radar also has the benefit that it doesn’t have to be disconnected when the yacht’s rig is removed. Depending on where you mount the pole, it may also be possible (with a Scanstrut pole mount at least) to lower the pole if the yacht is to be transported or needs to go inside for maintenance. Having the radar mounted on a pole makes it less vulnerable and can add an extra handhold when boarding the yacht from the transom or when mooring stern-to. We also supply accessories like an outboard davit and deck spotlight to add more functionality to the pole. Mounting the radar on a pole also keeps its weight and windage lower. It does, however, add a bit more weight to the aft end of the yacht, which can sometimes slightly affect the yacht’s motion at sea.
The self-levelling mount fits neatly into the top of our pole mount system
Having the radar lower does reduce its range both when horizontal and when heeling, but in practical terms when using radar the difference isn’t that much. When heeling, the height of the radar drops is less than it would be for a mast-mounted radar, and for those looking to get the very best out of their system, we always recommend a self-levelling mount.
Our dual mount allows a self-levelling mount and provides more space for other antenna too
For those with a pole mount, there are two options. We have a self-levelling mount that fits neatly into the top of our pole mount system. The other option is our Dual mount for those who might want to mount more antennas either now or in the future; either for satcoms, GPS, AIS and so on. This is a self-levelling mount that attaches to the front of the pole, leaving the top of the pole clear.
How to install a pole mount: https://youtu.be/d0uynuPi0Ac
Backstay Forward/Rear self-levelling only

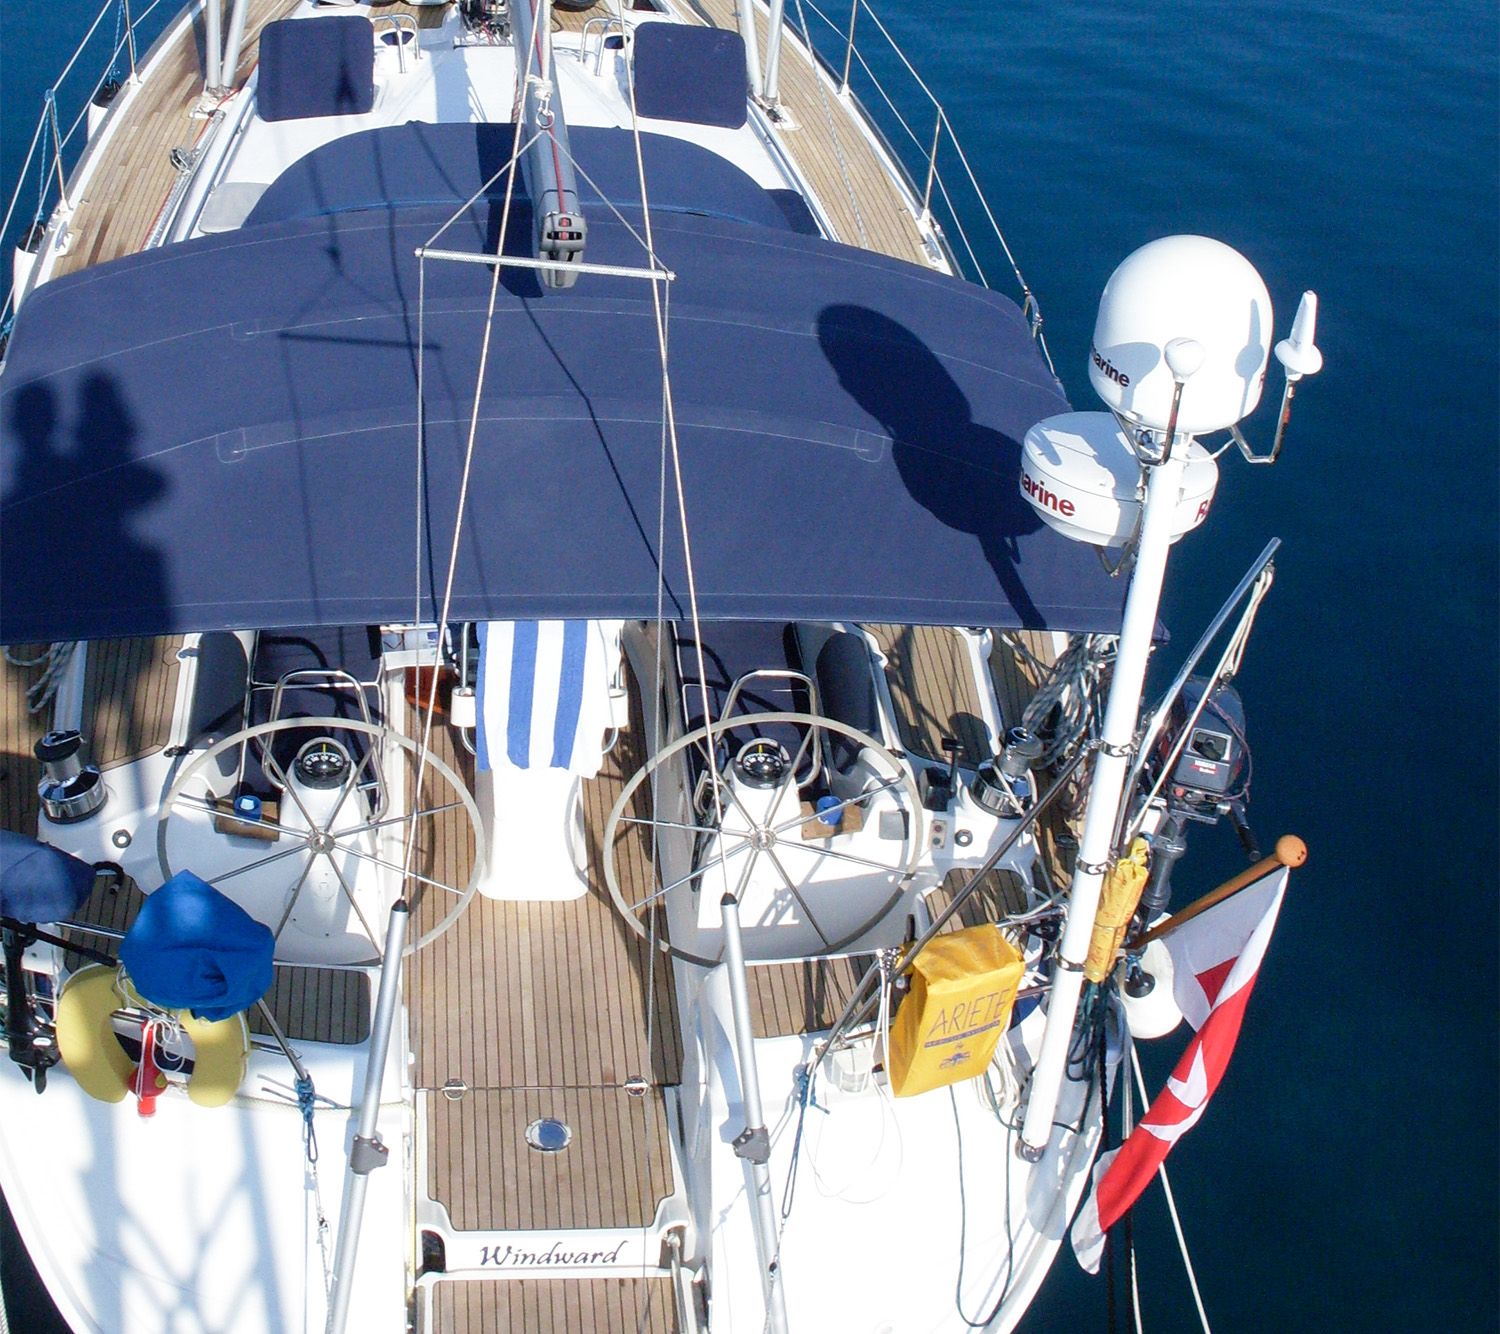
The backstay mount comes with a self-levelling bracket to keep the radar antenna horizontal.
The simplest way to fit a radar (in the number of holes one has to drill, (if nothing else) is to use one of our backstay mounts. Excluding the cable routing, it only requires two holes to fit either the forward- or rear-facing backstay mount. The radar is supported on a two-part 2.6m (8ft 6in) aluminium extrusion that is held in place by a lower bracket and the backstay. Like the pole mount, the wiring can remain attached when the mast is lowered. It’s also less vulnerable to damage and keeps the weight of the radar lower. The backstay mount comes with a self-levelling mount and it’s also possible to fit the aluminium extrusion to the non-moving side of a split backstay, although a wedge would be needed to align the base bracket correctly.
The backstay mount comes with a self-levelling mount and the radar can face forward or aft.
Unfortunately, the backstay mount is not appropriate for those with older style backstay adjusting mechanisms that are bulky and wide. You could, of course, replace these mechanisms with slimline alternatives but that would increase the cost of the installation. Likewise, if you have an arch over the cockpit or you’re thinking of having one in the future, the backstay mount might not be the best solution for you. If, however, you have a single backstay and can fit the lower bracket to the deck, transom or the backstay attachment then the radar can be fitted facing forward or aft, depending on the clearance between the radome and the mainsail.
Self-Levelling Back Stay install https://youtu.be/MT9EkCTGeTY
Arch
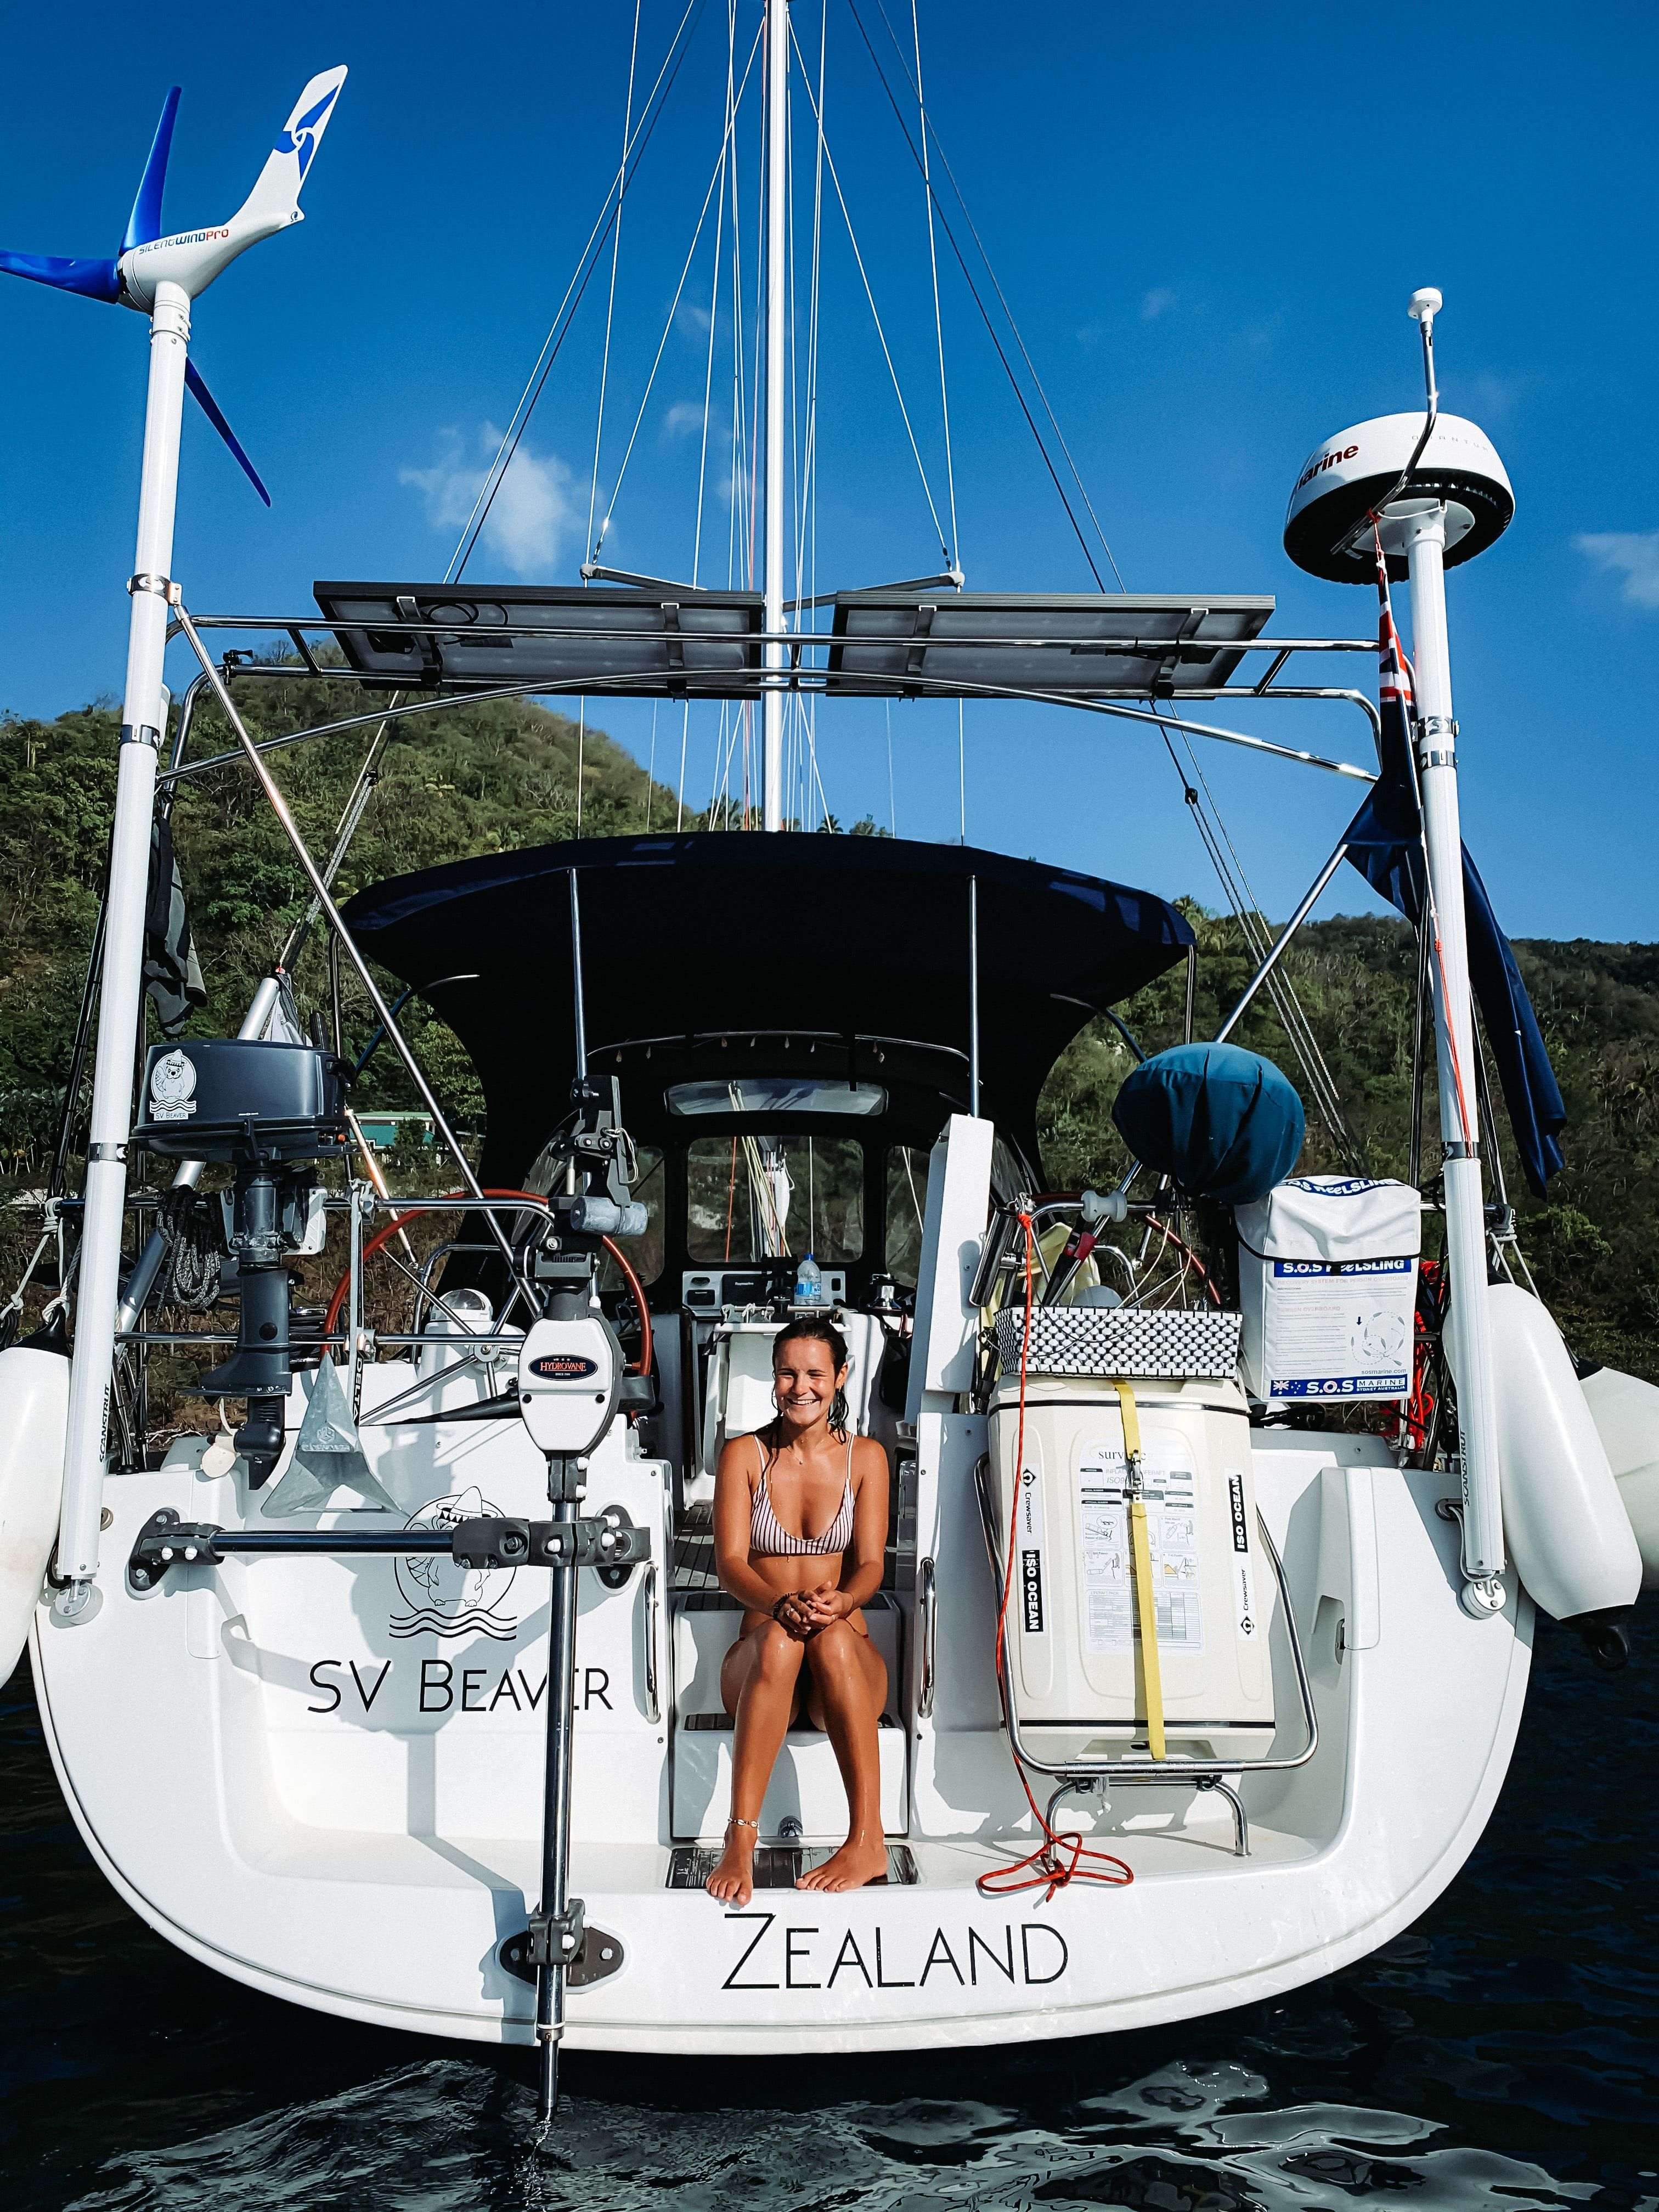
Many long-distance cruising yachts use arches to support solar panels. These arches could also support a radar on a powertower.
As the need for power on board increases, many sailors are choosing to fit a custom-made arch to take solar panels, wind turbines and so on. Arches also offer increased space for radar and other antennas that is clear of the cockpit and sails. If you are starting from scratch, you could get your fabricator to include a mount for your radar or add a suitable support for a self-levelling mount in your design. But if you didn’t, the footprint of a radome can be 55-65cm (1ft 9in-2ft 2in) which would mean you’d have to either fit smaller solar panels or move your existing panels wider. Our solution is from our range of Powertowers. Not only do these have much narrower footprints than a radome, but they also increase the height of the radar. The Powertowers are available in painted aluminium, composite or stainless steel.
Routing cables through an arch may be a little more problematic than a pole or backstay mount and there is the weight of the frame, solar panels and radome, etc to take into consideration when choosing this method.
Whichever method and location you choose for your radar, using Scanstrut’s tailored solutions means it needn’t be more than a few hours of work. After that, you have the job of routing the cables wherever they need to go. As a final piece of advice, before you start, make a note of any serial numbers on the radome and Wi-Fi-access codes for the unit. It’s not unknown for them to be attached to the base of the radome. At deck level, it’s a minor inconvenience, but if your radar is now securely fitted 7m above the deck and your assistant has just left, it’s a problem you could do without.
