
What’s the best way to mount radar on your powerboat?
Installing radar on your powerboat, sports cruiser or RIB isn’t difficult, but fitting the radome (the casing that contains the radar antenna) in a poor position can seriously degrade your radar’s performance. Mounting it in the wrong position or at the wrong height or angle will interfere with its ability to clearly identify targets (buoys, boats, land, etc.) and can reduce its operational range.
The whole point of radar is for it to be totally reliable. If you’ve spent thousands on a radar system, it makes sense to be able to get the best performance by fitting it correctly, without any blind spots. Our range of mounts, towers, and masts are designed to help you get the best from your radar and they’ll complement your vessel too.
The further away from the front or side of your boat's roof or radar arch, the higher the mount will need to be to keep the radar’s beam clear of the superstructure.
Avoid flush mounting your radar
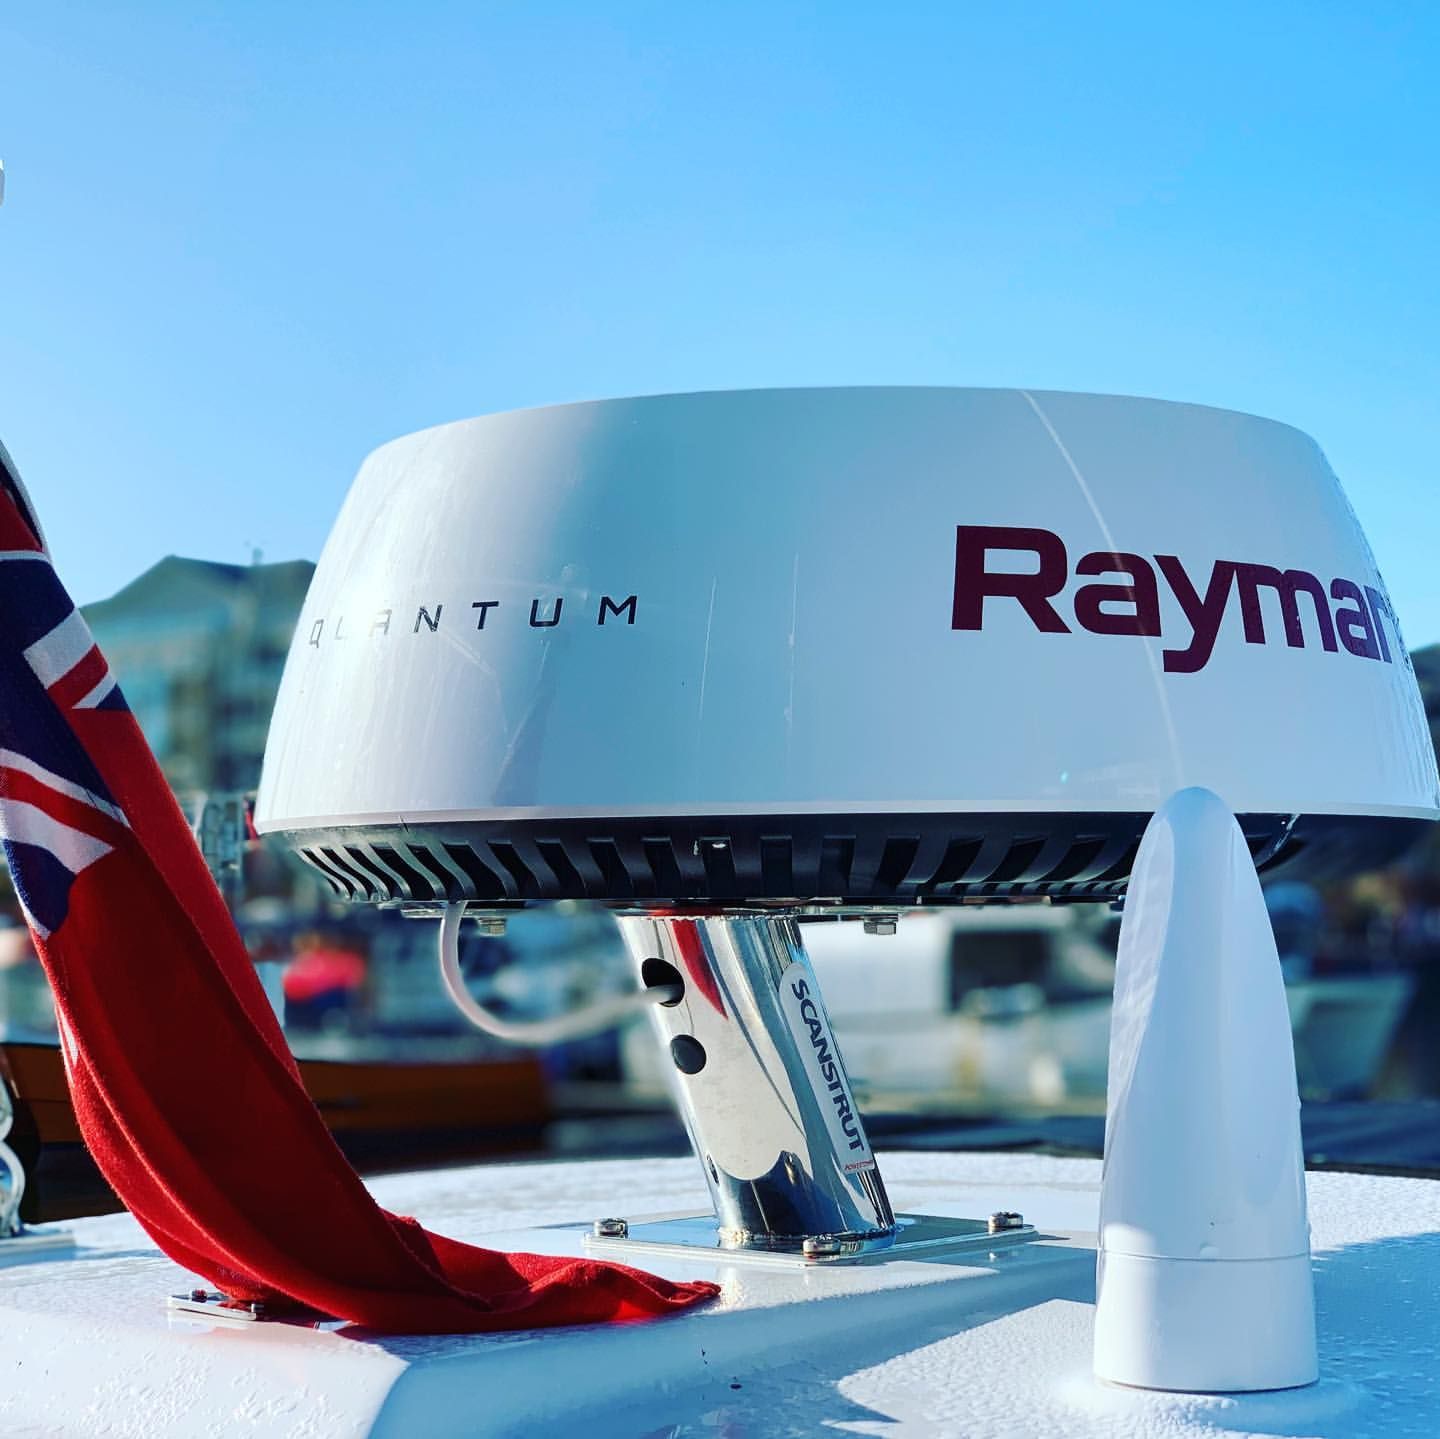
If you’re tempted to fit the radome flat on the top of your coachroof or radar arch, don’t. Or at least, not until you’ve measured the distance between the radome and the edges of the arch or coachroof.
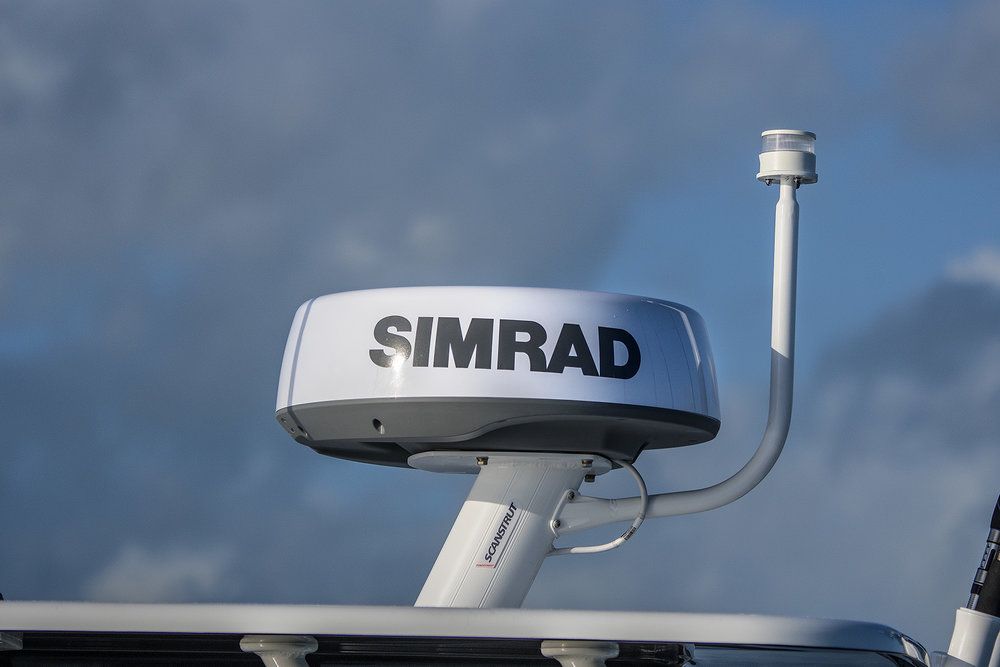
Unless you can mount your radar closer than 0.6m (2ft) from all edges or sides of the roof or arch, you’ll need a mount to raise the radar up to maintain the radar’s optimum performance. The further away from the front or side of your boat's roof or radar arch, the higher the mount will need to be to keep the radar’s beam clear of the superstructure. We offer our Composite PowerTowers in heights up to 350mm (14in) to give your radar the clearest possible view.
To understand why the radome’s height is important, here’s a quick experiment. All you need is a dim room, a table, and a torch. Place the torch on the table, pointing off the edge. Now pull the torch back from the edge of the table and watch what happens to the light on the floor. At some point, the edge of the table will cut off the light. Rather than an arc of light, there will be a flat line – the shadow of the table. Keeping the torch in the same place and horizontal, raise it up and see what happened to the areas close to the table in darkness now; the arc should reappear.
Like the light from the torch, the beam of microwaves transmitted from the radar doesn’t go out in a straight line like a laser, it radiates out in a cone shape from its source, the antenna. If the radar is mounted too close to a flat surface, it will block and interfere with the beam.
If the point of the cone could be seen from the side it would have an internal angle of 20-25 degrees (around 10-12.5 degrees above and below the horizontal axis of the antenna plane). Every radar set is slightly different and this is usually covered in the installation manual, but for your radar to provide the best performance this cone should be clear of obstructions, including the surface you’re mounting the radar on.
If you own a hardtop cruiser you have to be diligent about making sure the unit isn’t transmitting while anyone is on the foredeck.
Keeping it safe
When looking at locations for the radome the antenna must not be at anyone’s head height while it’s in use. If you own a hardtop cruiser you have to be diligent about making sure the unit isn’t transmitting while anyone is on the foredeck, or otherwise use a mount to raise the radar higher than head height. Likewise, on a RIB, the arch over the stern may be low, and fitting a radar on it would lead to transmitting microwave radiation into the back of your head – a serious health hazard. Redesigning the arch to be higher, adding a Stainless-Steel PowerTower mount, or having a new overhead arch made, will reduce the danger. Some flybridge cruisers also have low arches, again radar on these units shouldn’t be used with people in close proximity, alternatively, the radar must be mounted high enough for it to be safe.
The higher you can mount the radar on your powerboat, the better. Adding a mount will also increase the radar’s range.
The higher the better
Radar works on line of sight, and just as your view improves when going up in a glass lift, the radar’s range will improve the higher it is mounted. If you were standing in a RIB with your eye height about 2m (6ft) above the waterline you could, in theory, see 2.7 nautical miles (nm). Radar at the same height could see 3.2nm – a little beyond the visible horizon. If the radar was mounted 3m above the water level (typical for a hardtop cruiser) the unit would have a range of 3.85nm, which doesn’t sound a lot, and no matter which radar set you by, this range won’t change.
There is good news, though. The total line-of-sight distance is your line of sight to the horizon added to the object’s line of sight. Just as when you approach the coast from a distance and you can see the tops of cliffs before the beach below it, the higher the target the further the radar can ‘see’ it from. A navigation mark that has a radar reflector 3m above the water level would be picked up on radar at around 7.7nm (3.85nm +3.85nm).
Therefore, the higher you can mount the radar on your powerboat, the better. Adding a mount will also increase the radar’s range. Our 350mm (13.7in) series of Mounts will add around 0.2nm to the radar’s effective range, which is a useful extra margin for collision avoidance and navigation.
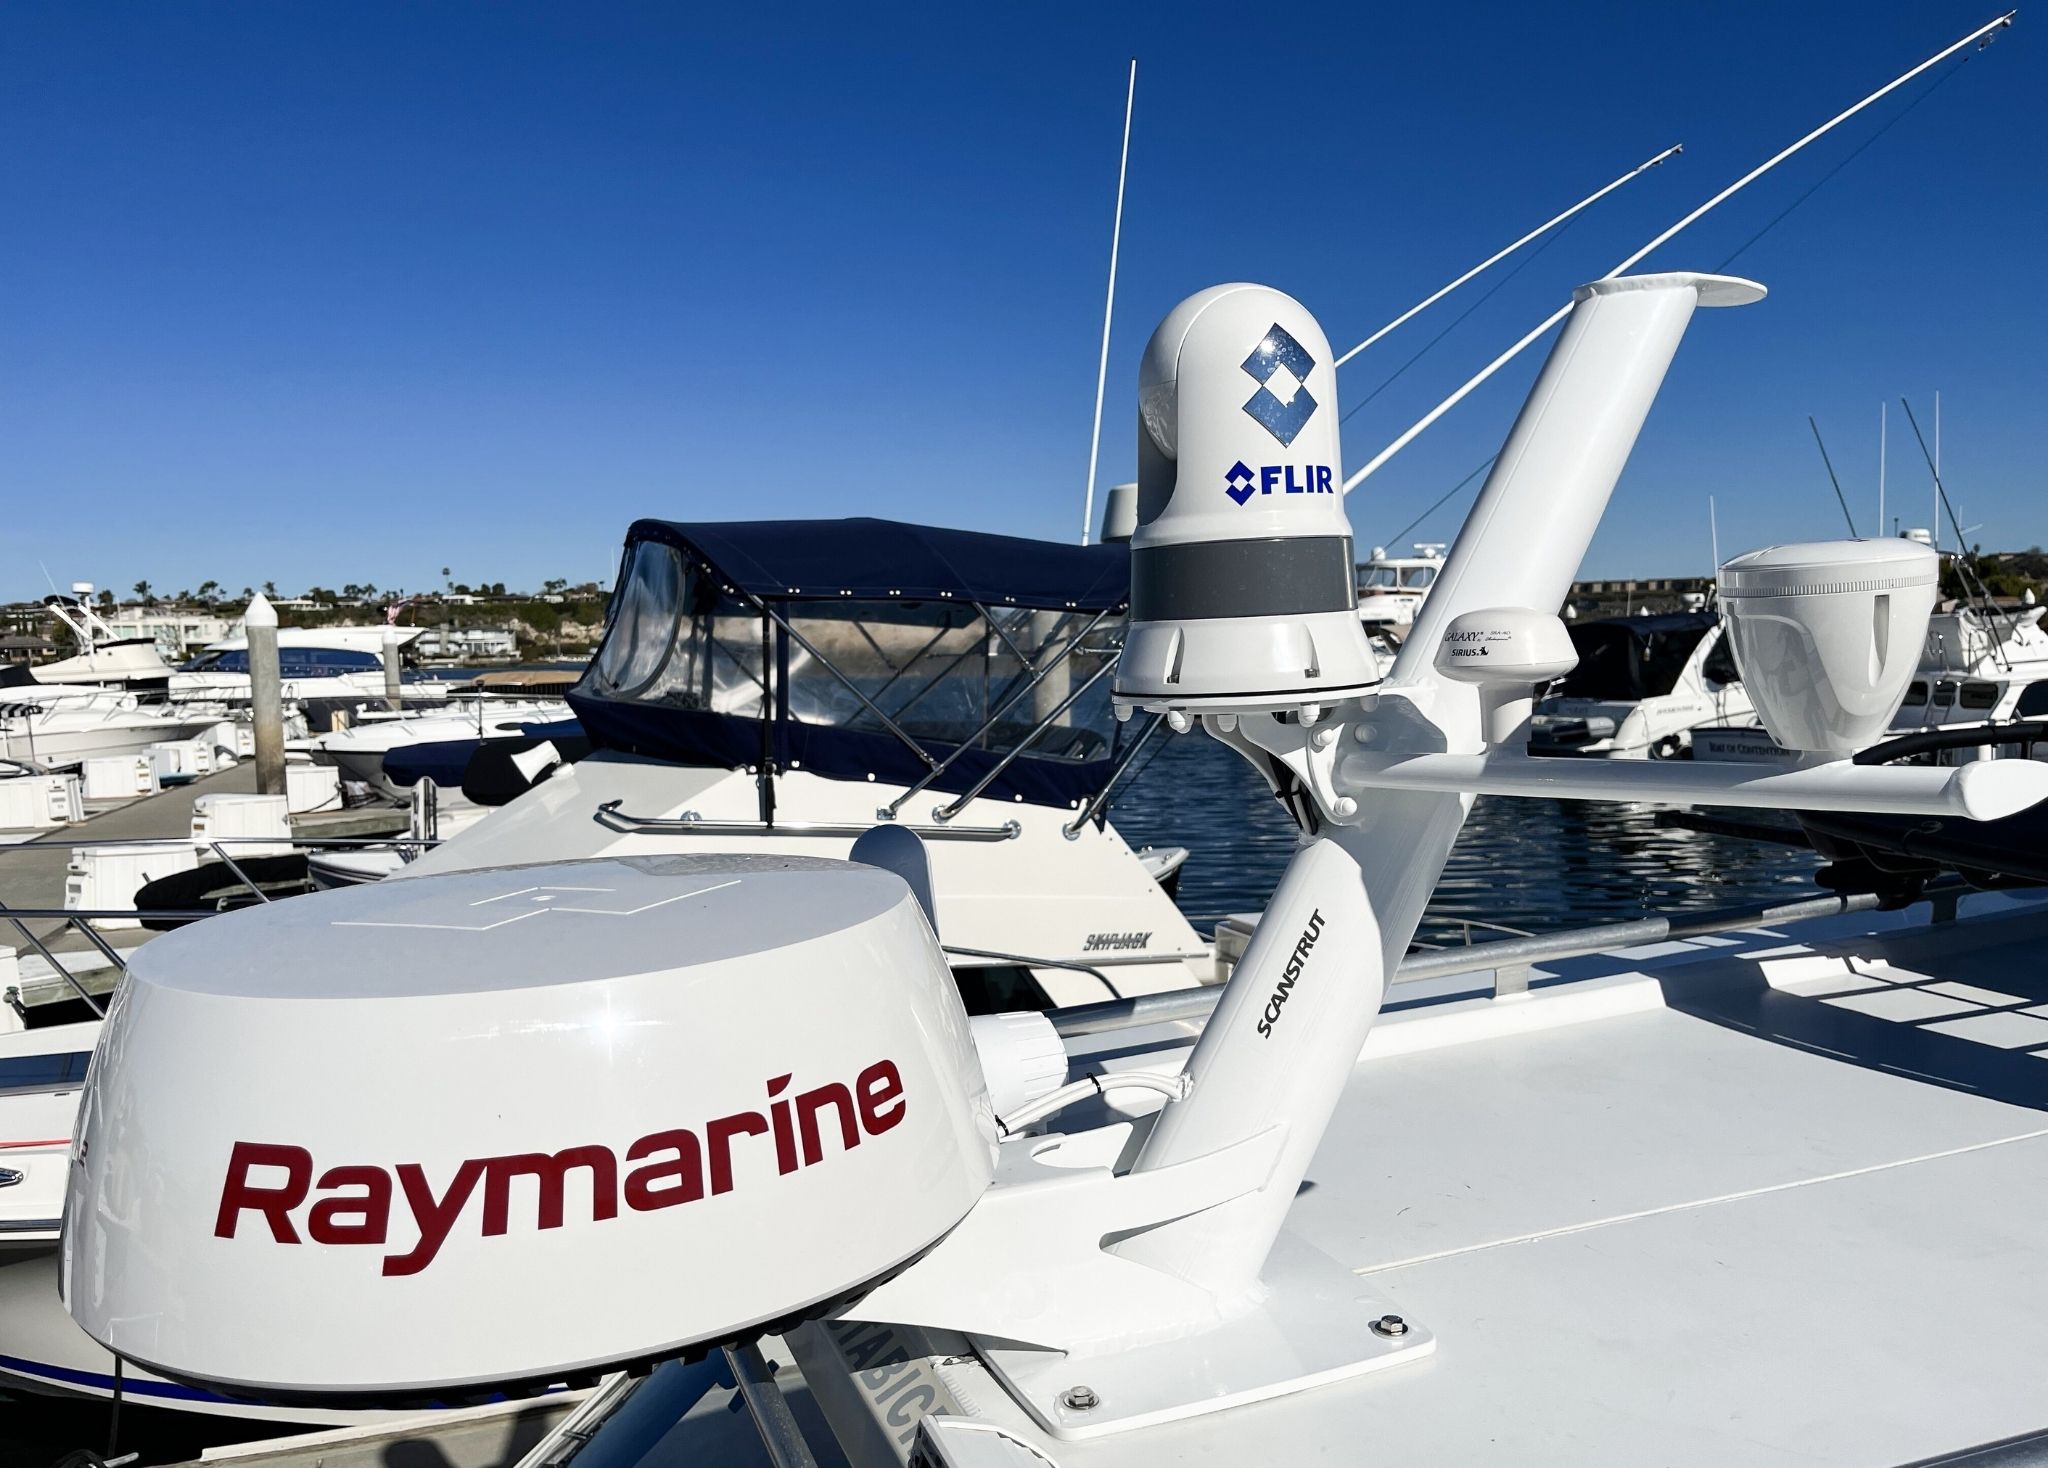
Without a mount the beam of this radar would be blocked by the spotlight and aerial mounts.
A clear view
Radar transmits a beam of electromagnetic energy at microwave frequencies, just like the light from a lighthouse – in a beam that revolves 360 degrees with each sweep. Therefore, anything obstructing the radar’s beam (horns, spotlights, satcoms, aerials, arches, and so on) will either block, interfere or deflect it. This can cause echoes on the display and show objects that aren’t there or, worse still, it can hide objects that are there. Likewise, the beam from the radar can affect other antennas, especially active radar target enhancers.
The accessory mount is a neat way of adding navigation lights and antenna above the radome.
Raising the radome above such objects, or using a Tapered mast to raise them clear of the radome, will optimise your unit’s performance. If you are adding other antennas, lights, cameras, or horns, our Accessory mount will make a neat assembly, allowing all the cables and wiring to pass into the tower.
Mounting the radar forward on the superstructure will enable the radar to see targets closer to the bow.
How far forward?
It's not only the height above the roof that needs consideration. If the radar is mounted aft and the cone is blocked by the bow, then the radar will lose sight of navigation marks and other small targets that are at close range in the water ahead of you. This is why you’ll often see commercial ships with radar on the bow, because it can see where the crew in the bridge, and the main radar above it, cannot.
The design and style of your boat will also affect your decision about where to fit your radome and whether you need a mount. If in doubt, you can always photograph your boat from side-on and check that the conical beam from the radome will clear the bow of the vessel.
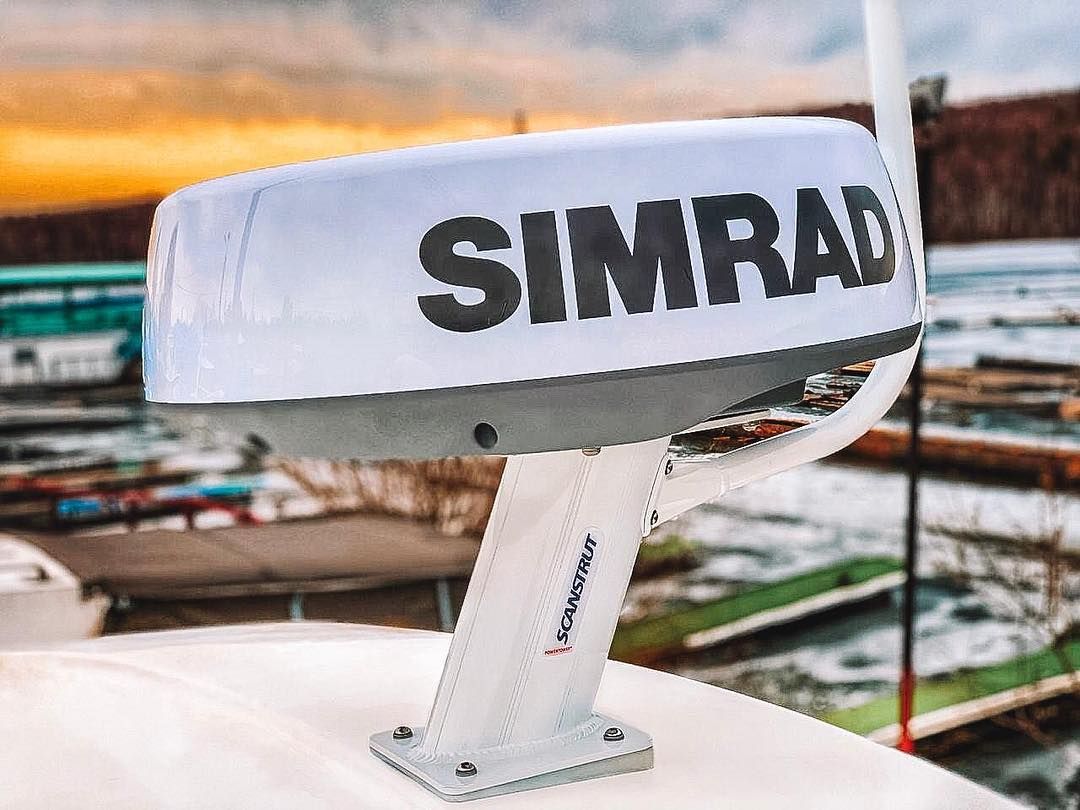
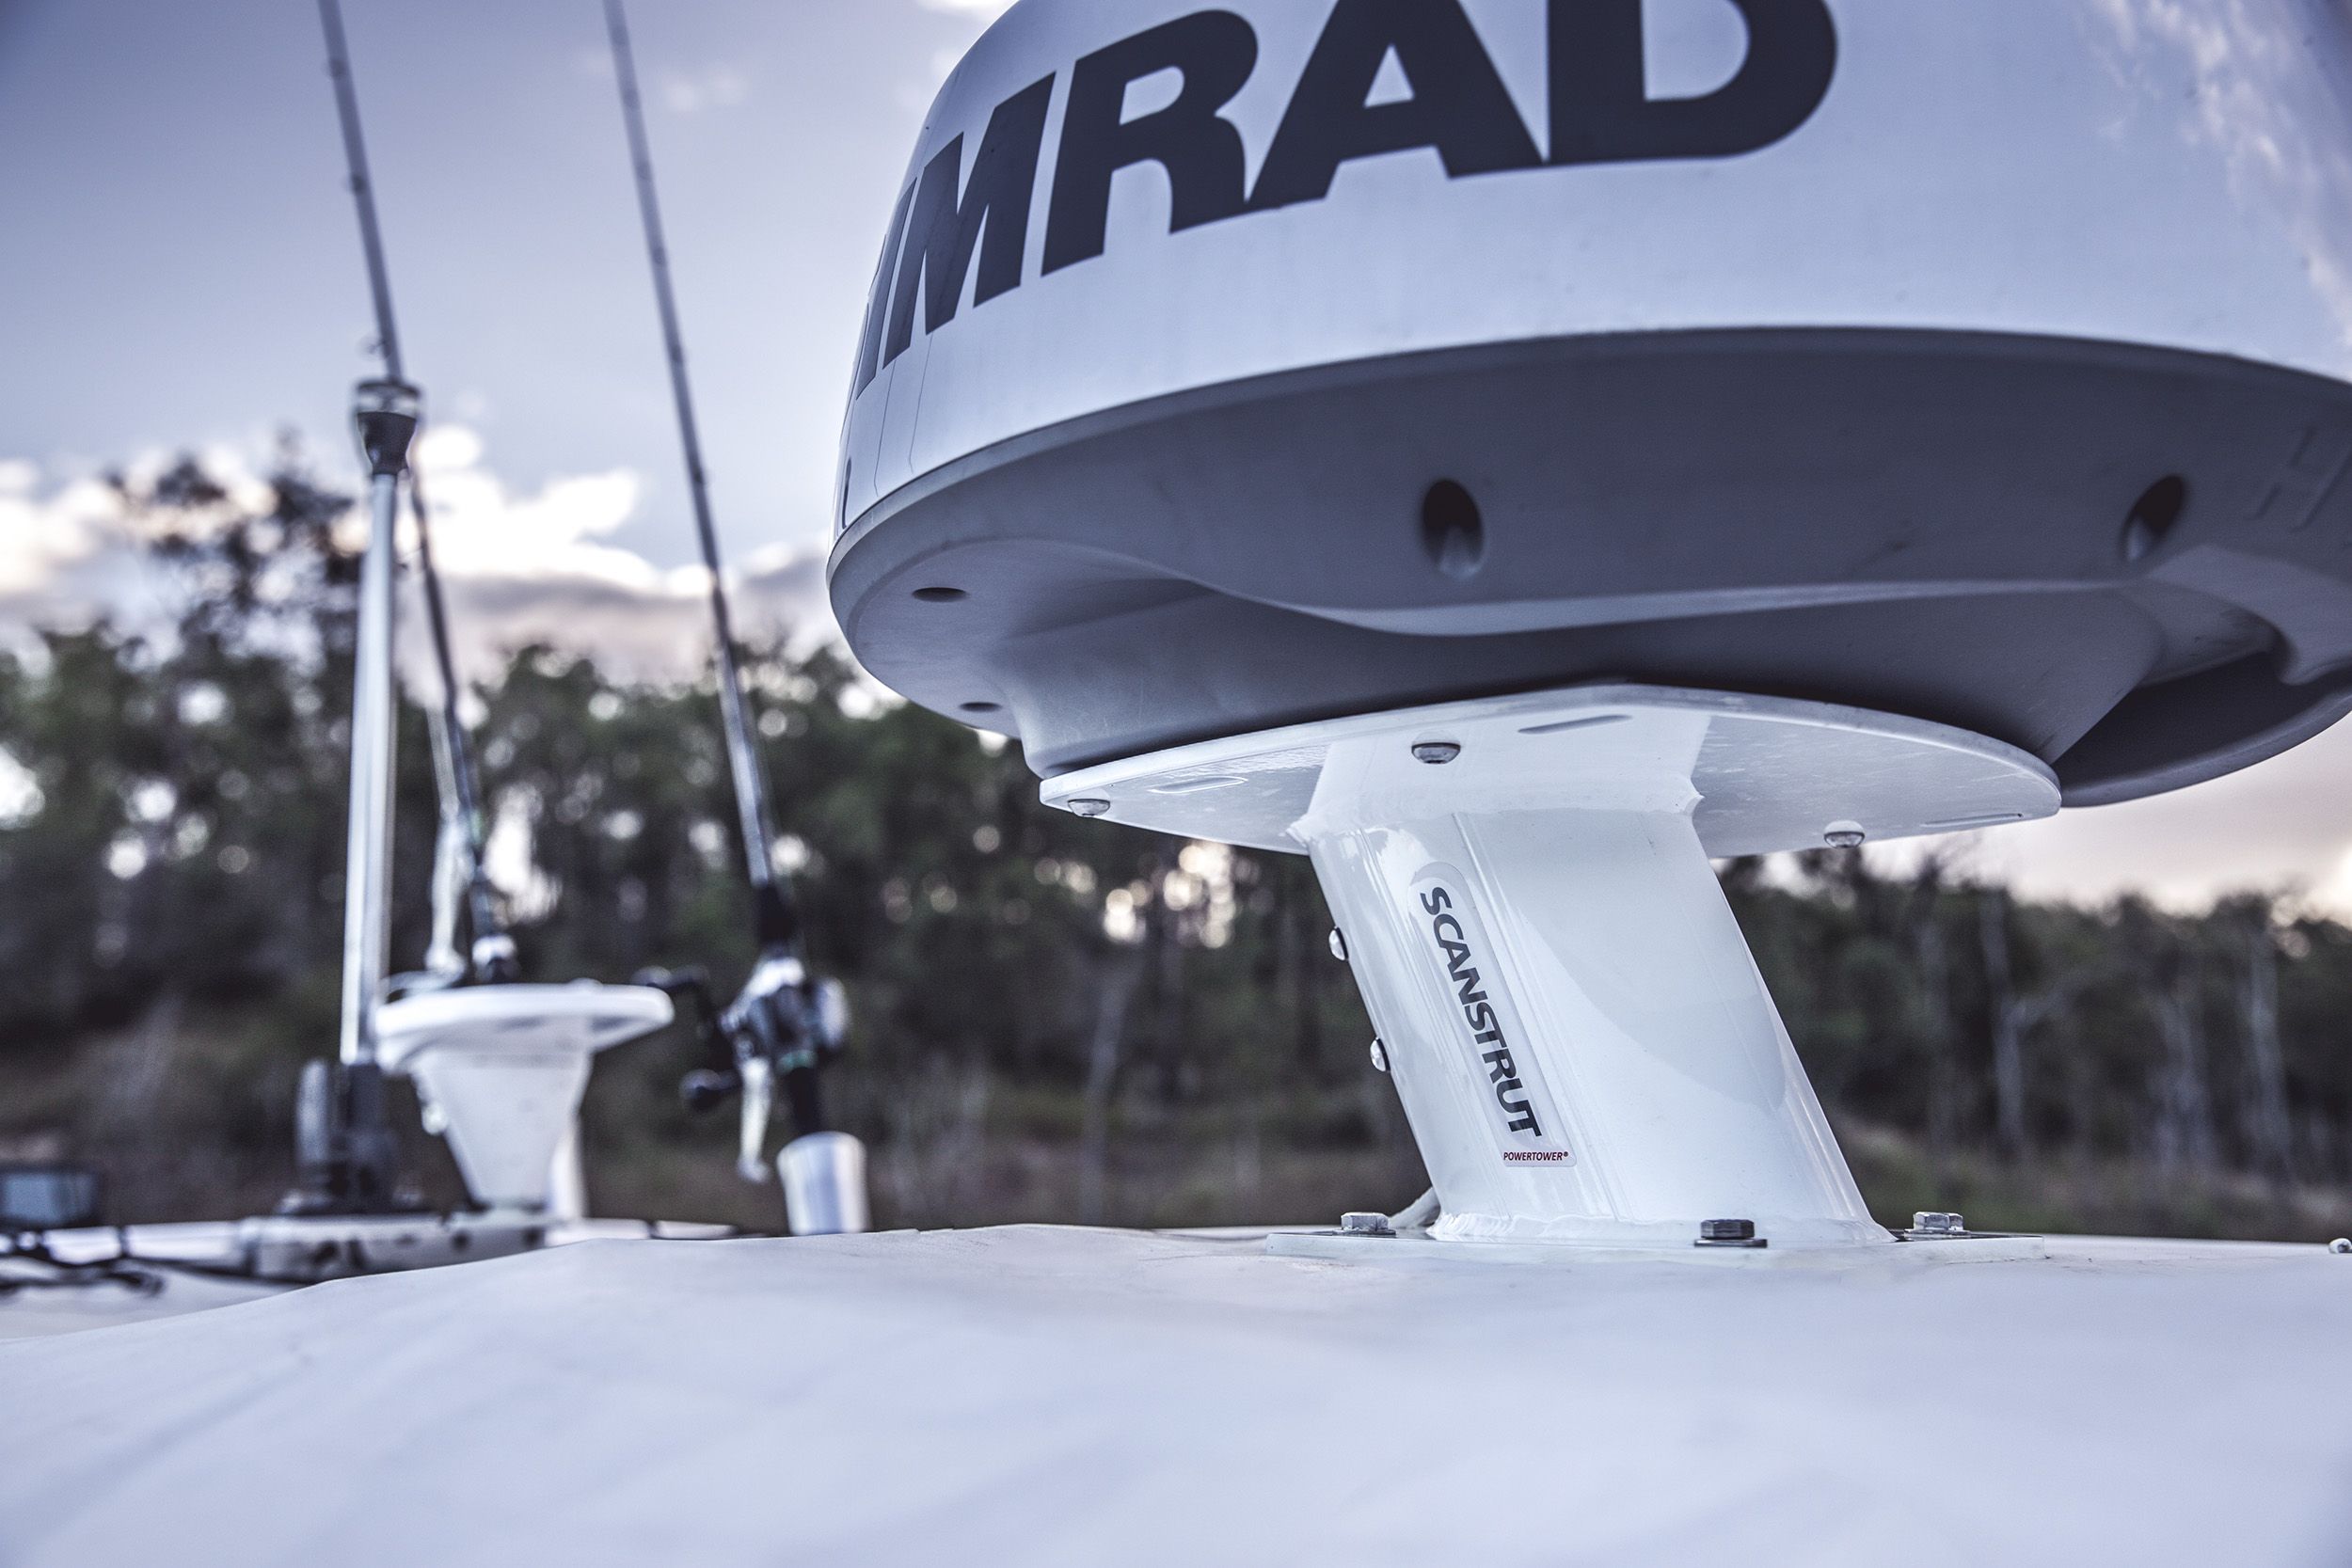
Scanstrut wedges can be fitted beneath the radome or, as seen here, beneath the mount.
Keeping it level
For best performance, your radar should be used as close to horizontal as possible. The beam spreads out 10-12.5 degrees above and below the horizon of the antenna, and anything above or below that won’t be hit by the radar’s beam, so can’t return a signal. If your powerboat runs bow up and the radar is mounted parallel to the yacht’s static waterline, as the bow rises so does the beam from the radar so it’s now looking above the horizon rather than at it.
To find out your vessel’s running angle, you can buy an inclinometer or simply download an app on most smartphones. When the boat is stationary, ensure the inclinometer is level at 0 degrees. When you’re underway, note the running angle. Most often it will be around 3-5 degrees, sometimes more. Some manufacturers will incorporate a forward lean to the radar mounting position. If yours hasn’t, to get the radar on the level again, we offer Wedges that are angled at 4 degrees. These are simply bolted beneath the radar or the mount (making sure the thick end is aft) to correct the running angle.
Open or closed?
There are two types of radar array, open and closed. An open array can easily be identified because you can see the antenna revolving, a closed array has the antenna and the motor, etc protected and concealed in a plastic radome casing. Open arrays tend to be taller and will spin around, so if you’re adding a Mount for an open array remove the possibility of anything like pennants, ensigns, or their lines from becoming loose and getting caught. Open arrays can also be fitted onto our Modular Dual Powertower
A Scanstrut mount can complement the style and design of your yacht.
Looking good
You care about how your boat looks, right? Many flybridge powerboats have swept-back radar arches. Sports cruisers, on the other hand, usually have their arches swept forward. With their long flat foredecks, sports cruisers often need to raise the radome to give close-quarters radar visibility. This is important because at night or in fog, modern CHIRP or broadband radar can detect unlit hazards in the water like mooring buoys, which can easily foul your propellers.
If you have a forward-swept radar arch, it makes sense to have a Forward-leaning radar mount. Likewise, if the superstructure you’re mounting the radome on is black or carbon fibre, the last thing you’d want to see is a bright white mount, so we offer our Forward and aft leaning aluminum mounts in black too. For boating magpies or owners who want to mount the radar on a stainless steel structure, we also offer the shiny Stainless Steel PowerTower mount. While these alternative finishes don’t differ in their performance from our other mounts, they complement the aesthetics of your yacht.
Whether you want stainless steel or a mount that is painted white or black, we have a solution for you.
Easy to fit
Every Scanstrut mount comes pre-drilled to fit your model and manufacturer, and while we do offer a range of Cable seals all of our aluminum towers have internally led cabling so you won’t need any seals and it’s dead easy to make your radar installation as neat as possible.